Usage Instructions with Example
The following instructions are using an example from the formsflow.ai - Freedom of Information and Protection of Privacy.
Designer Steps
-
Log in to http://localhost:3000 (forms-flow-web) with valid user credentials for the designer.
-
After the login is successful you will be redirected to http://localhost:3000/form where you can
Create / Upload / Download / View / Edit / Deletea form.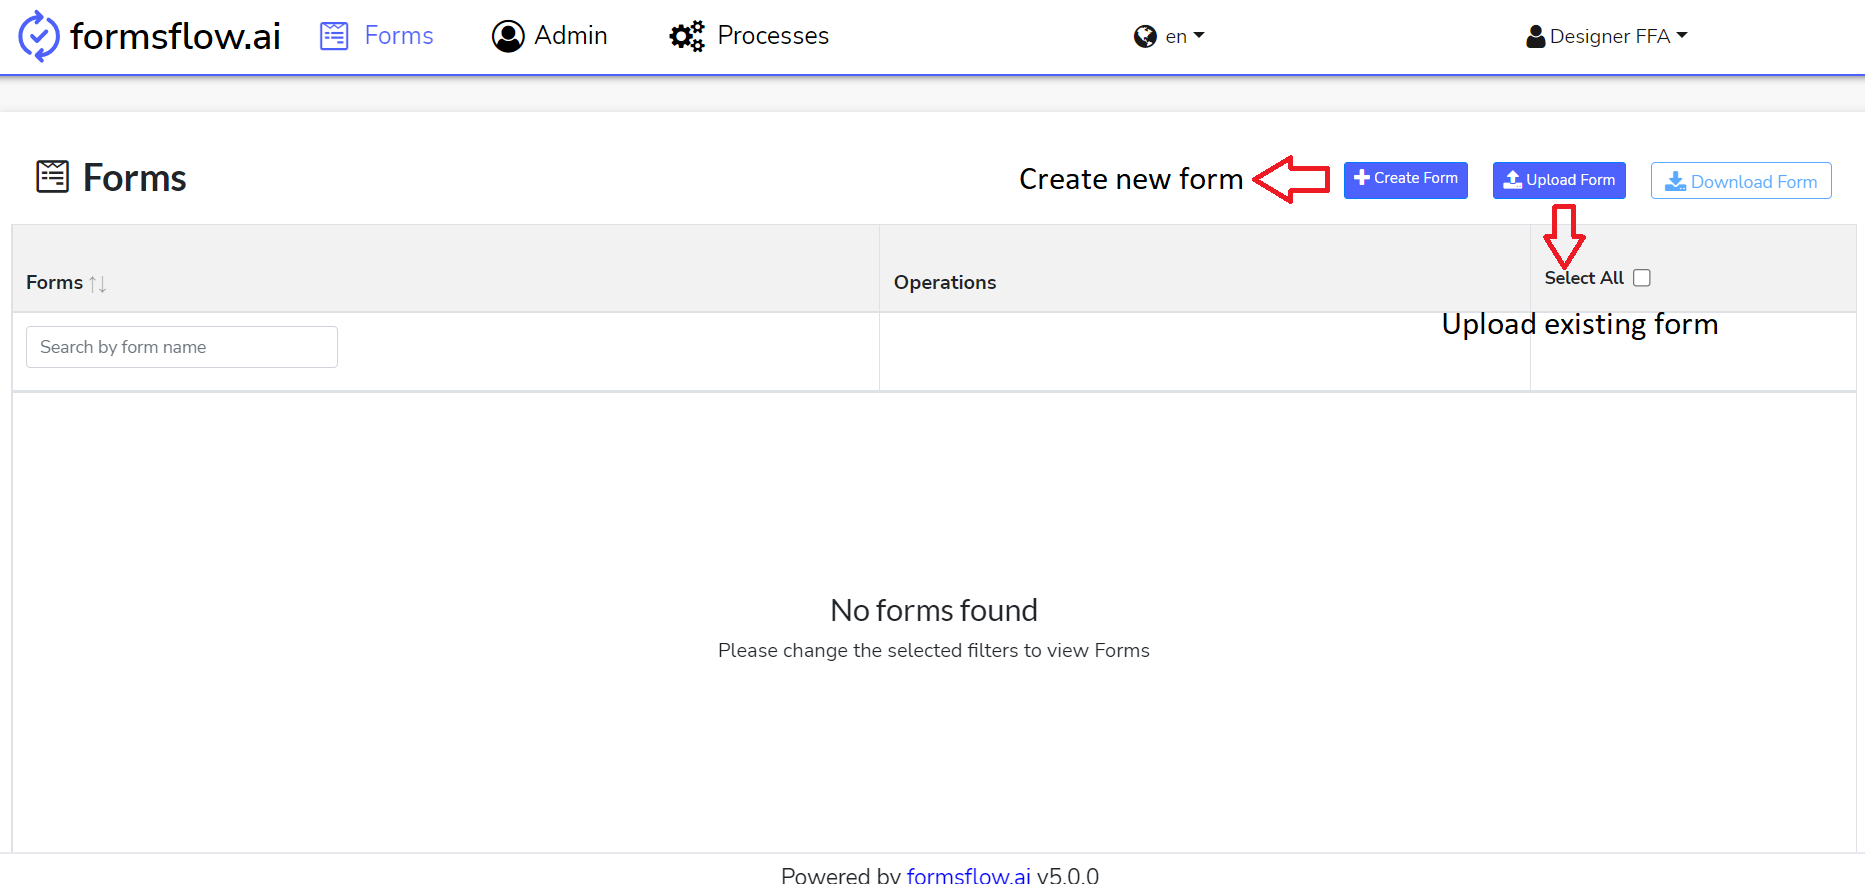
-
A new form can be created by two methods: designing a new form, or by uploading an existing form in JSON format.
- Create a New Form
-
Click on Create New Form Button. The web page to design the form opens.
-
Fill in the details, drag and drop the required components, to build the form.

-
The components can be customized as they are added.
-
- Upload a Form
- A form in JSON format can be uploaded using the Upload Form button.
- Create a New Form
There are few example JSON files in our repository which can be downloaded by clicking Here.
-
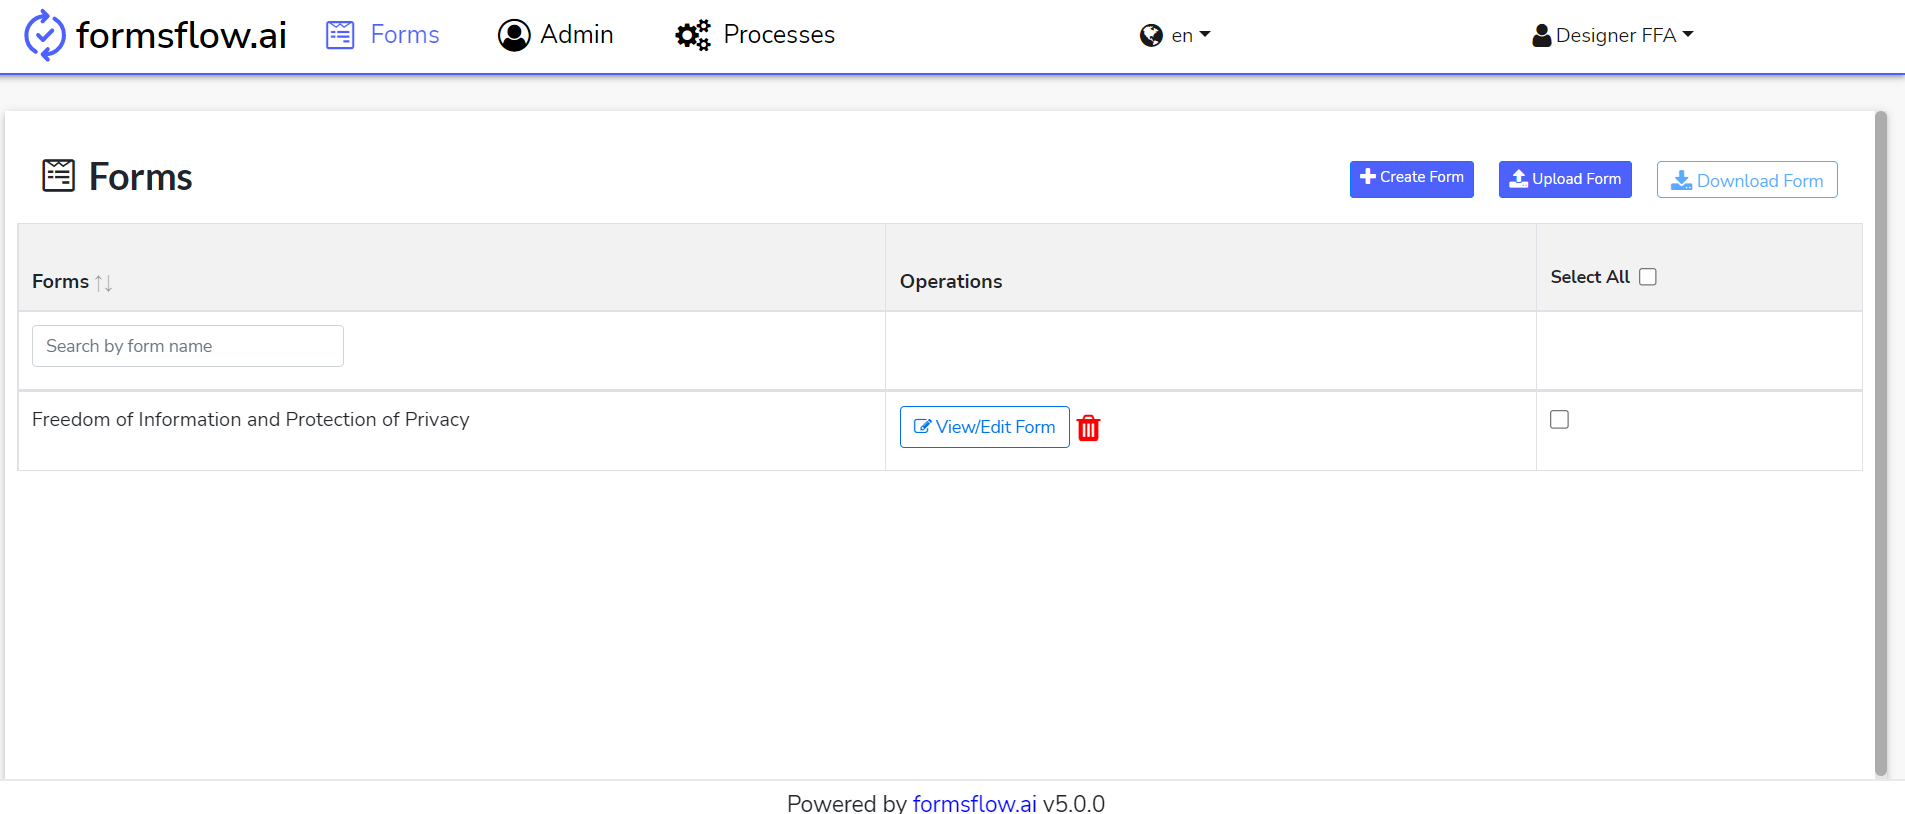
Example: Upload FreedomOfInformationAndProtectionOfPrivacy.json file.

-
You can modify the form by clicking on the View/Edit Form button or continue by clicking the Next button.
-
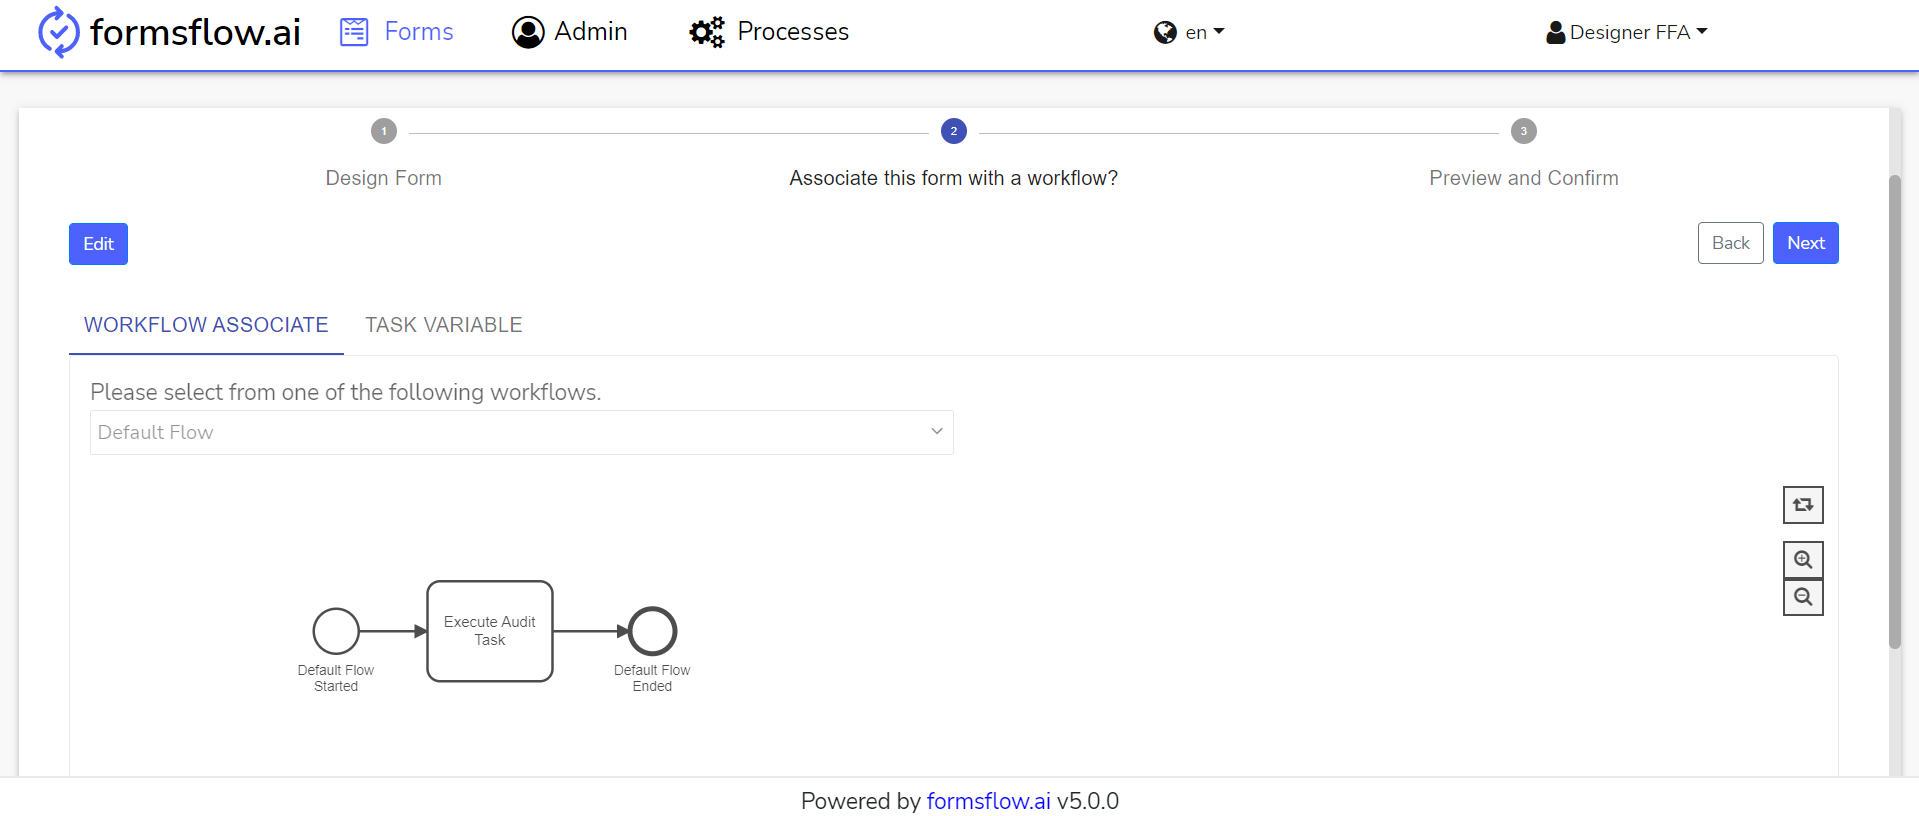
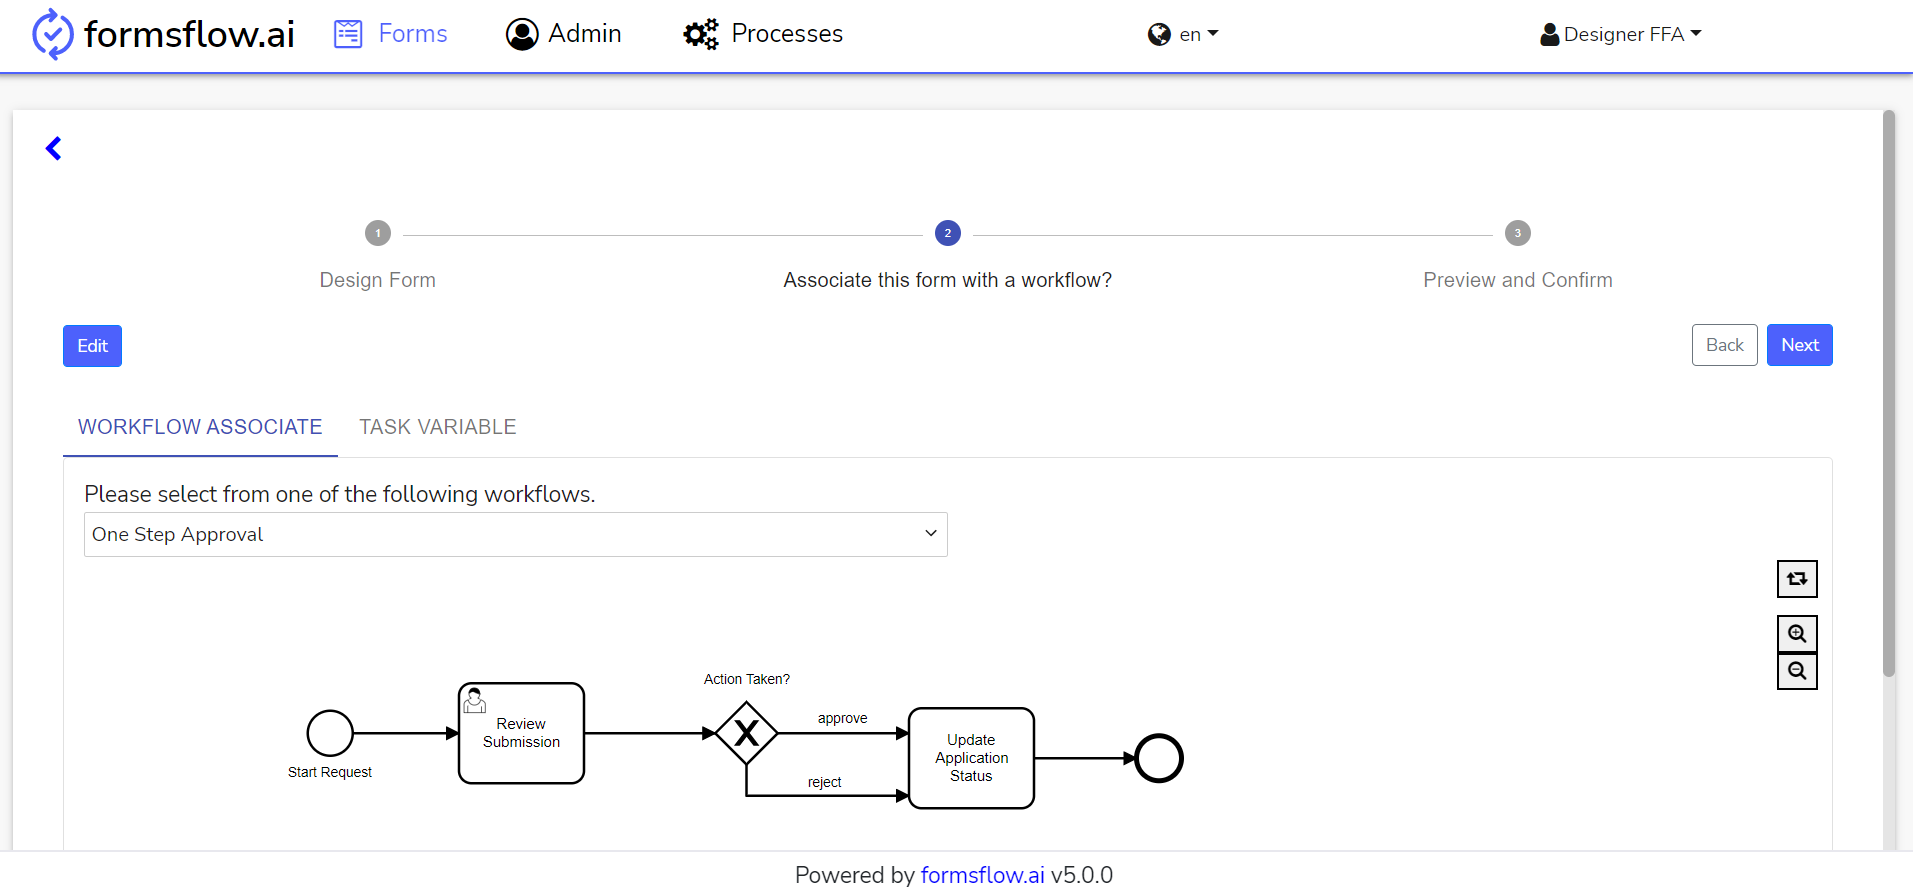
At this stage form designing is completed. You can click on the EDIT button and associate a default workflow if you want.
-
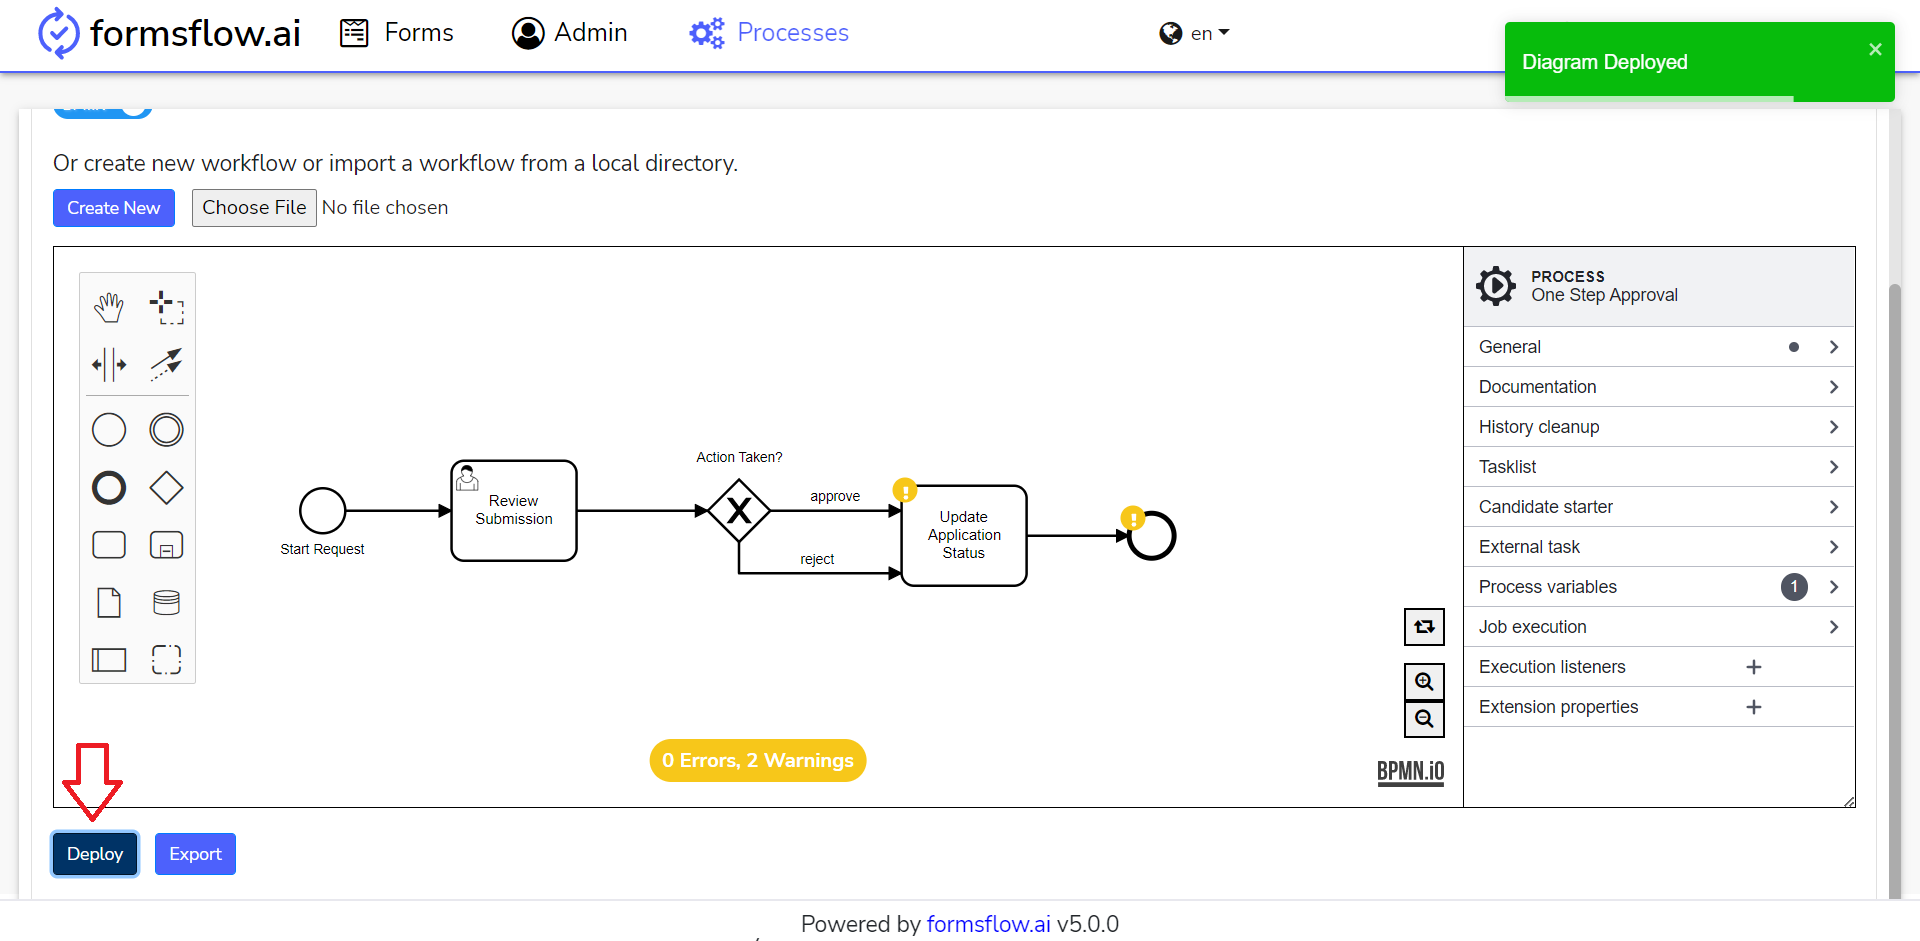
In order to deploy any other workflow,
go to https://github.com/AOT-Technologies/forms-flow-ai-examples/blob/main/bpm-examples/camunda/approval-process.zip and download any sample workflow (e.g.: one-step-approval.bpmn).

-
Move to Processes tab, choose the workflow one-step-approval, enter a deployment name and click on Deploy.

-
After associating the workflow, click on the Next button to Preview and Confirm.
-
You can click on the Next Button and publish the form for clients.
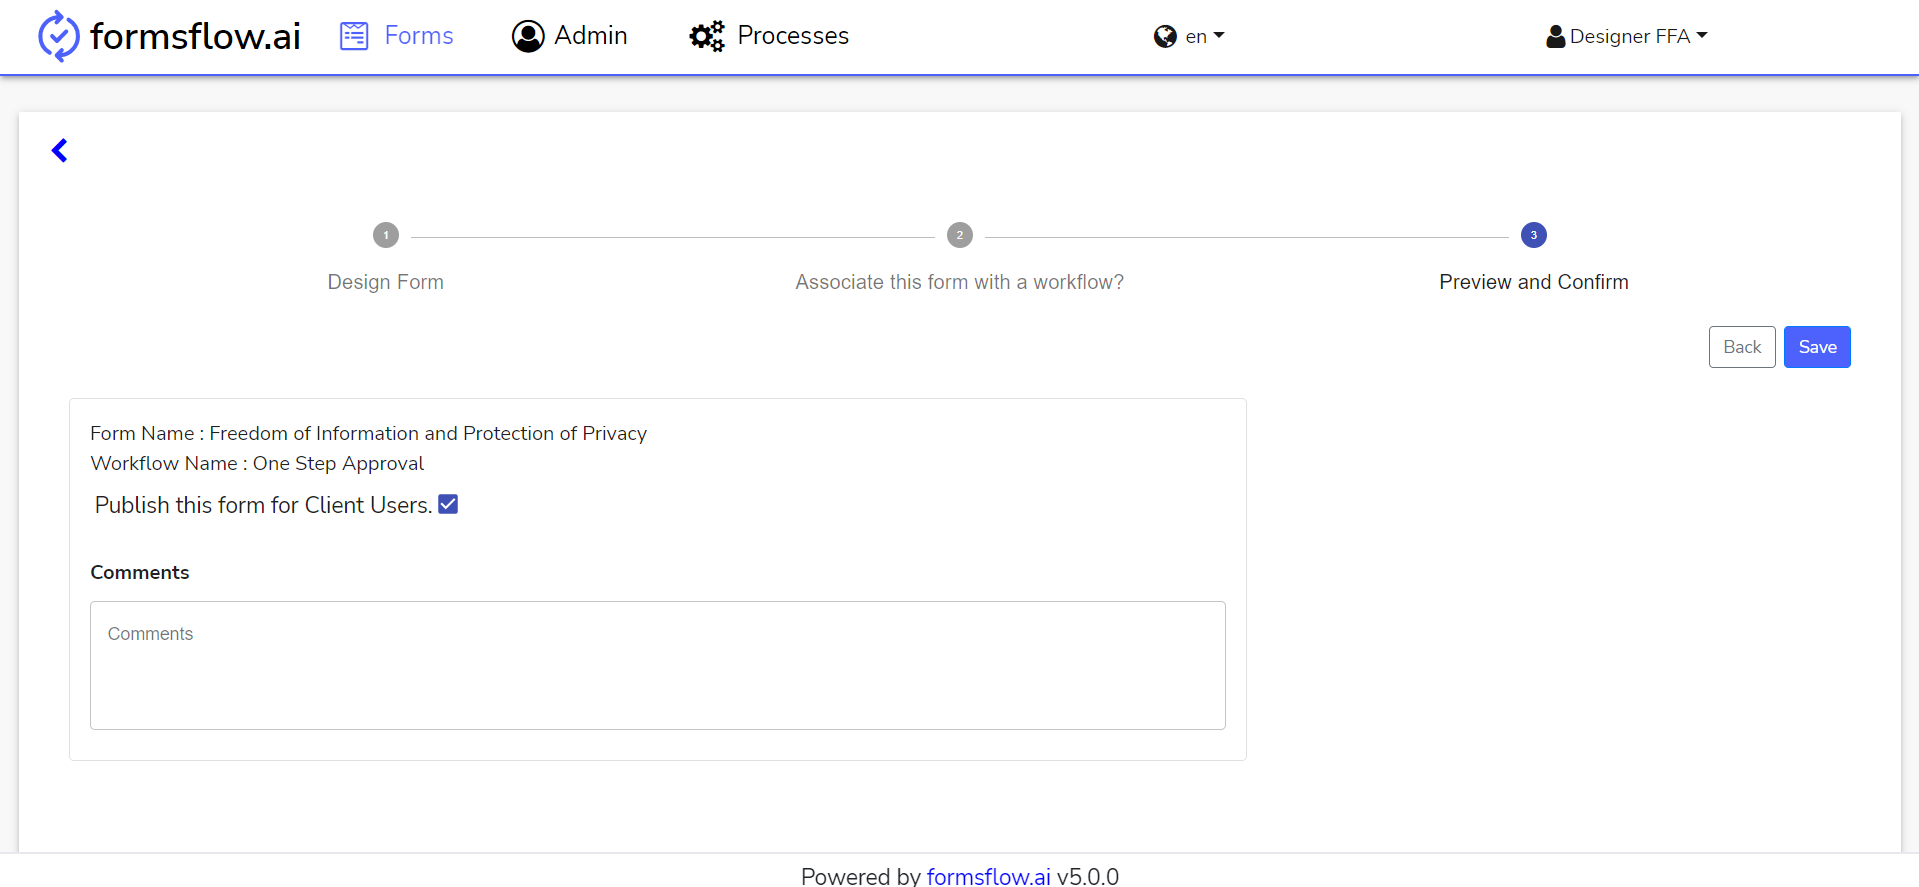
-
Click on Save button to complete designing a form.
-
Form designing is successfully completed, you can now Log out and go to Client Steps.
Client Steps
-
Log in to http://localhost:3000 (forms-flow-web) with valid default user credentials for the client.
-
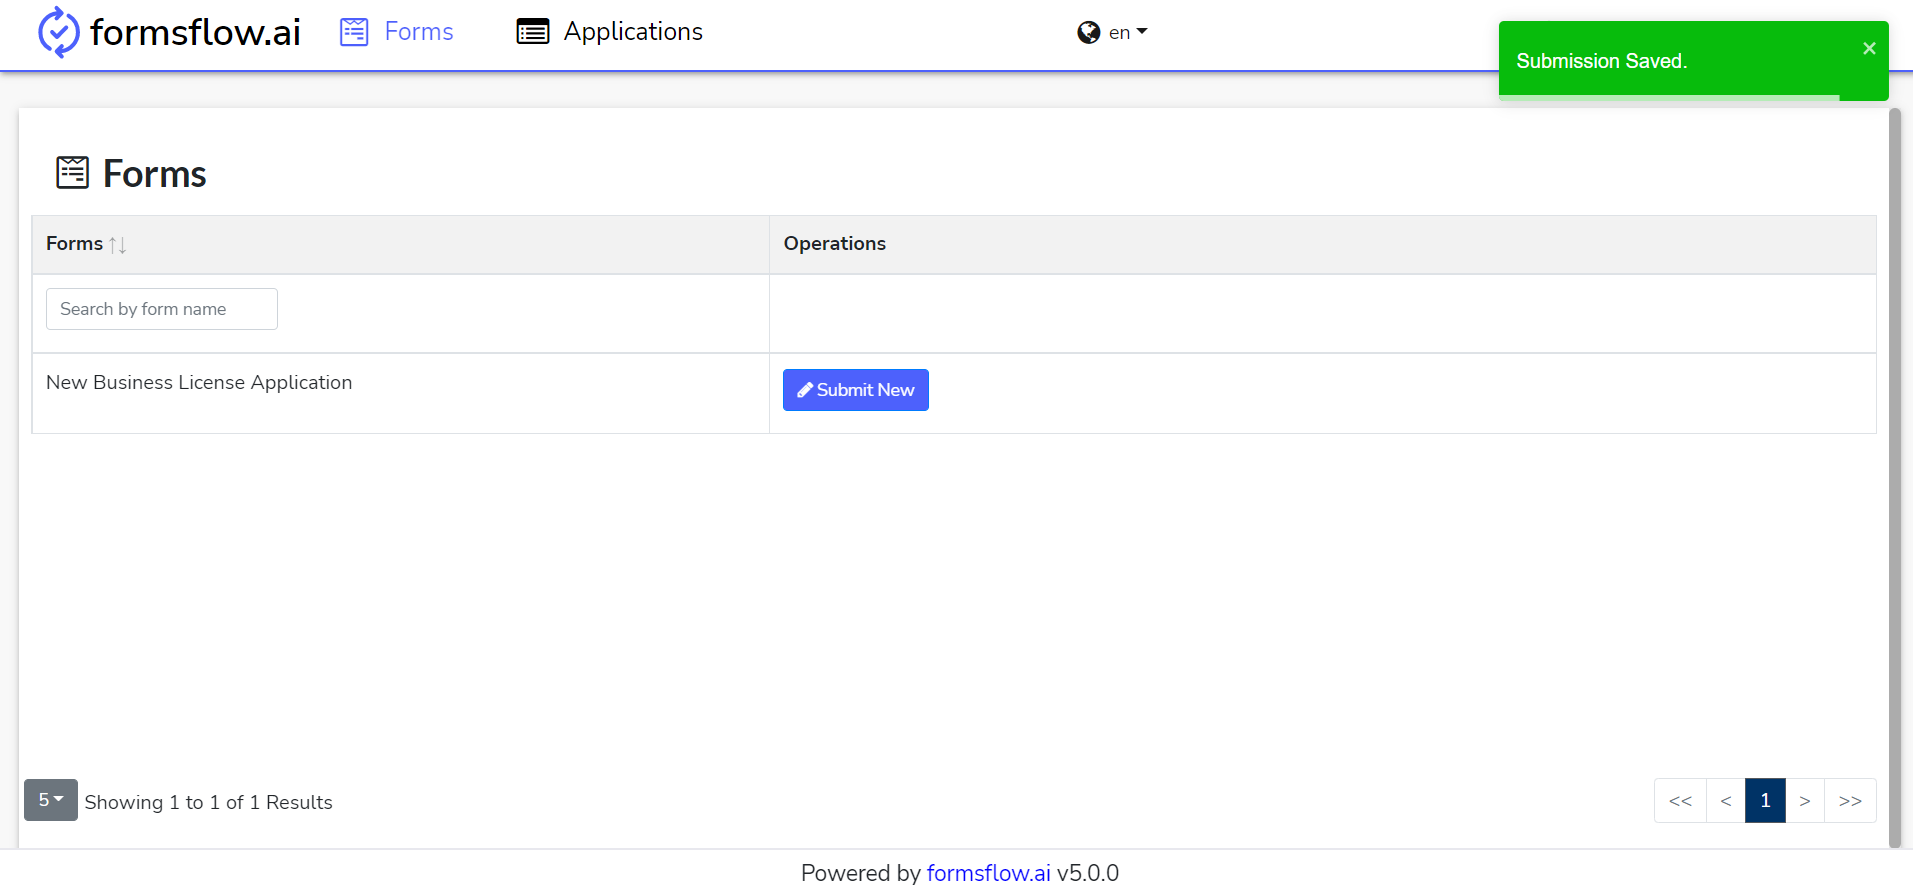
After the login is successful you will be redirected to http://localhost:3000/form where you can View and Submit a form.

-
Click Submit New Button on the form to fill and submit it.
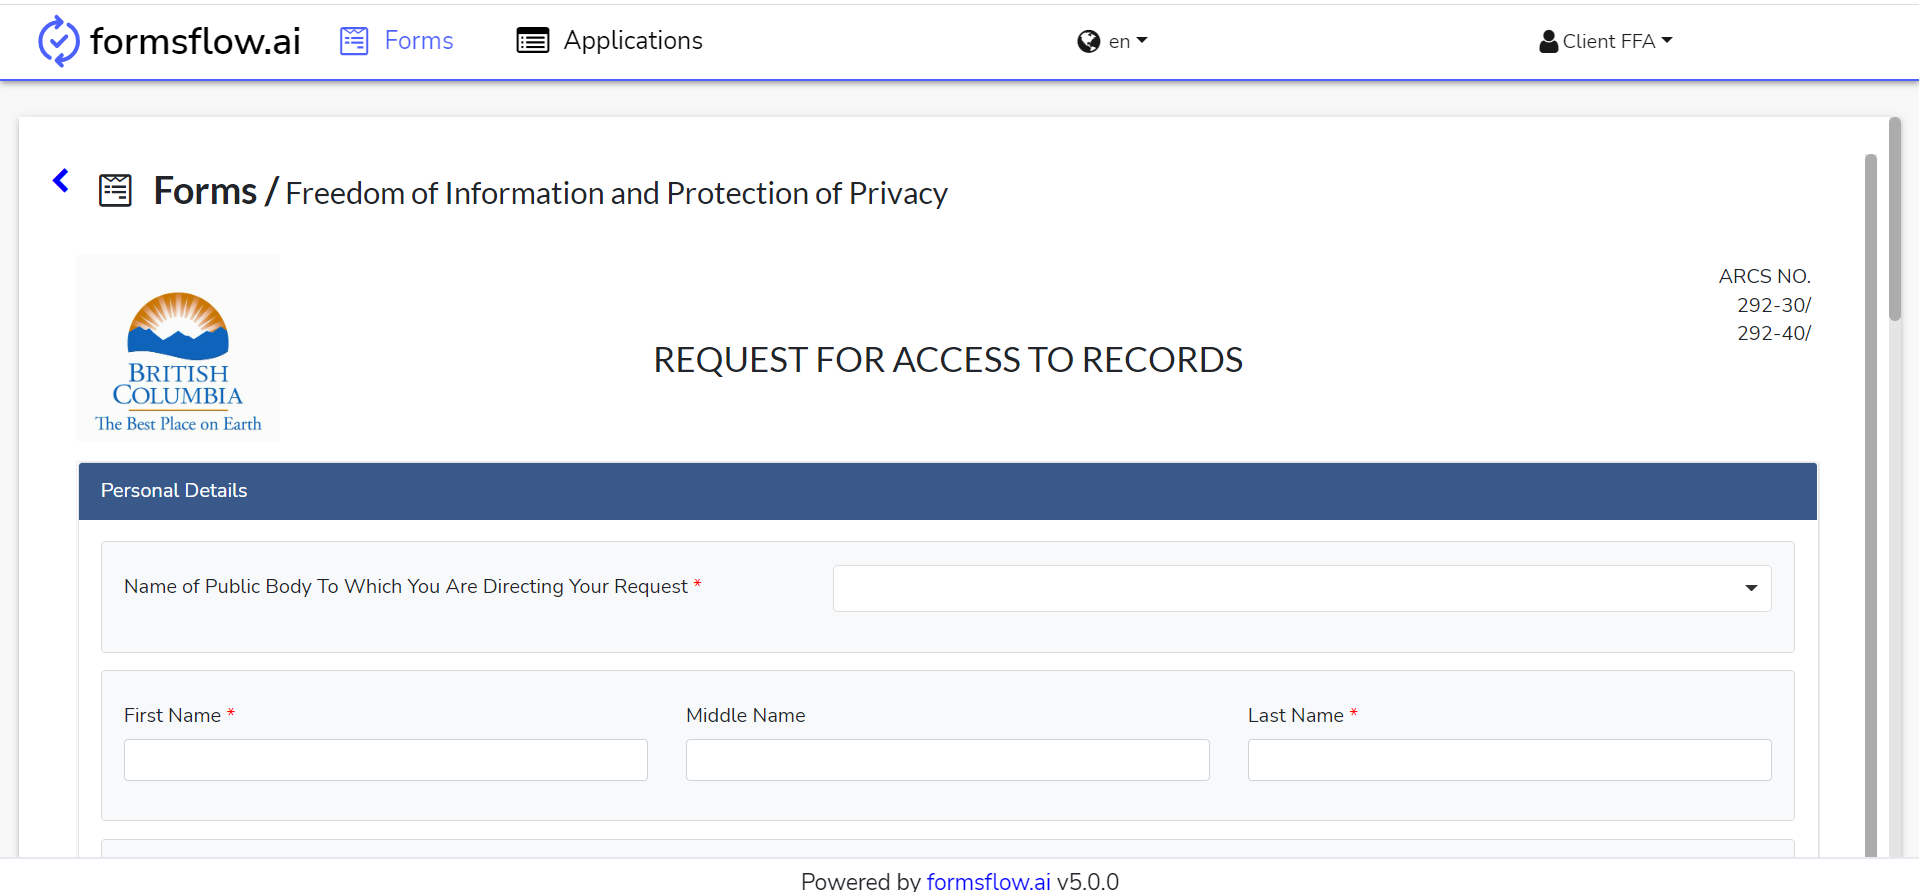
-
If you had associated a workflow with the form, the form will start the workflow.
-
Once this action is completed, you can now log out and go to Reviewer Steps if you have a user review mentioned in your workflow.
Reviewer Steps
-
Log in to http://localhost:3000 (forms-flow-web) with valid default user credentials for the reviewer.
-
After the login is successful you will be redirected to http://localhost:3000/task.
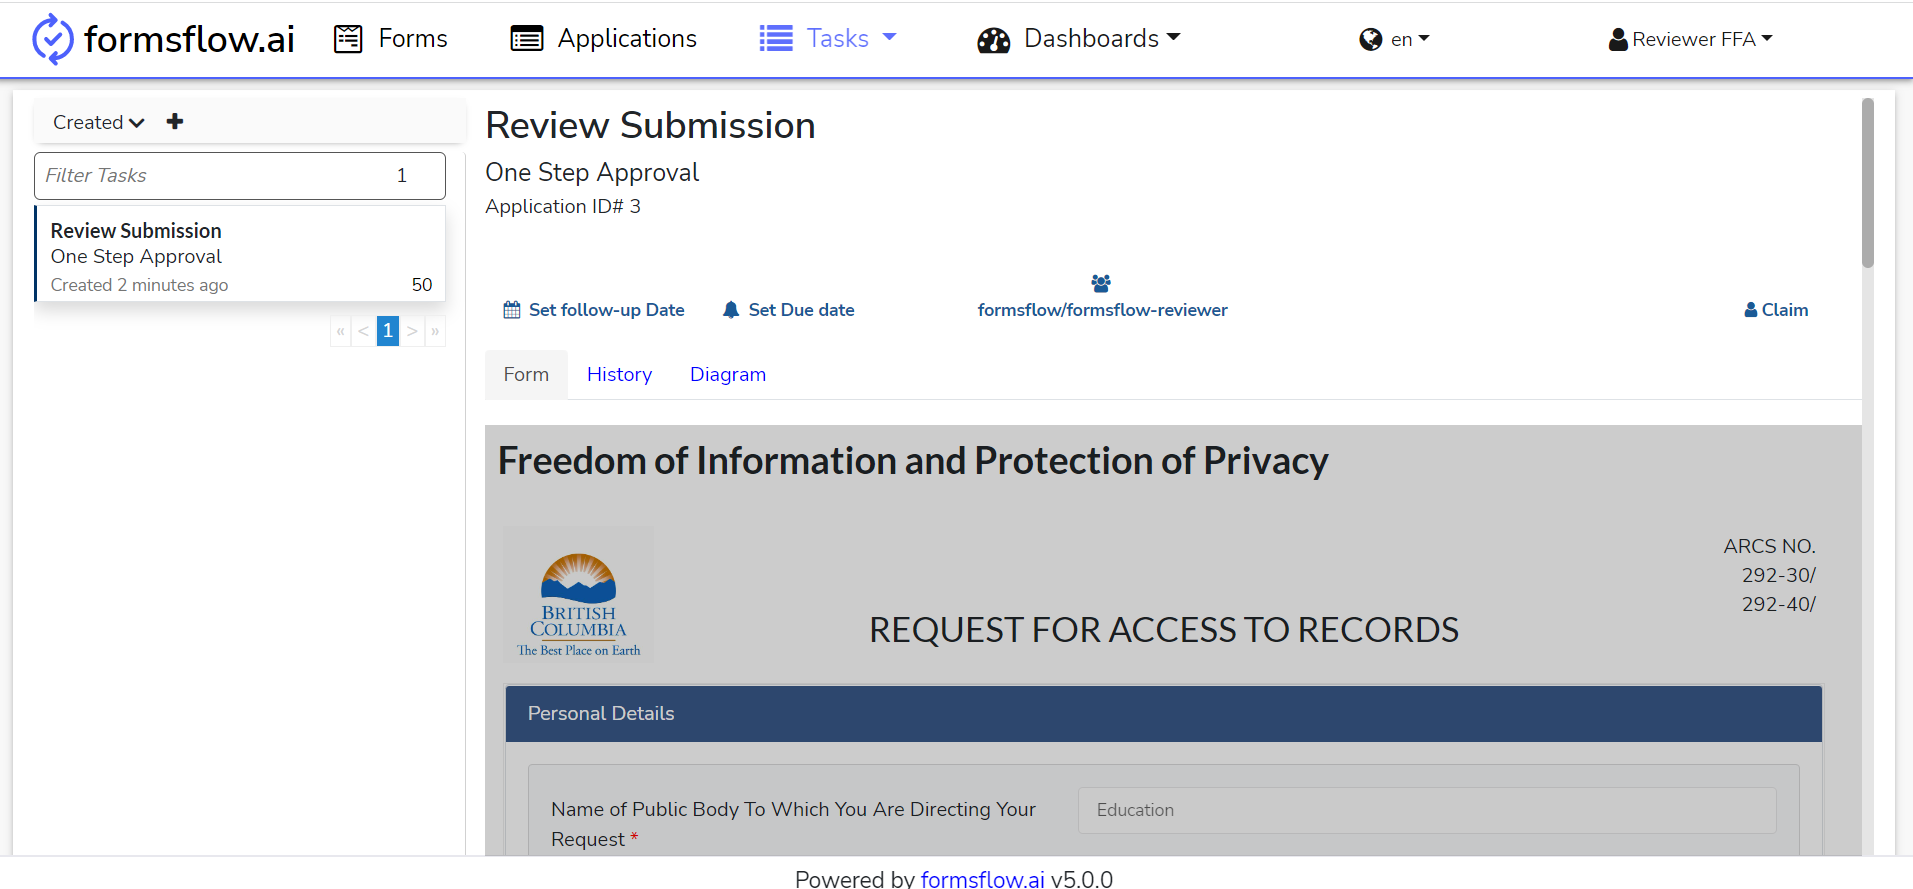
-
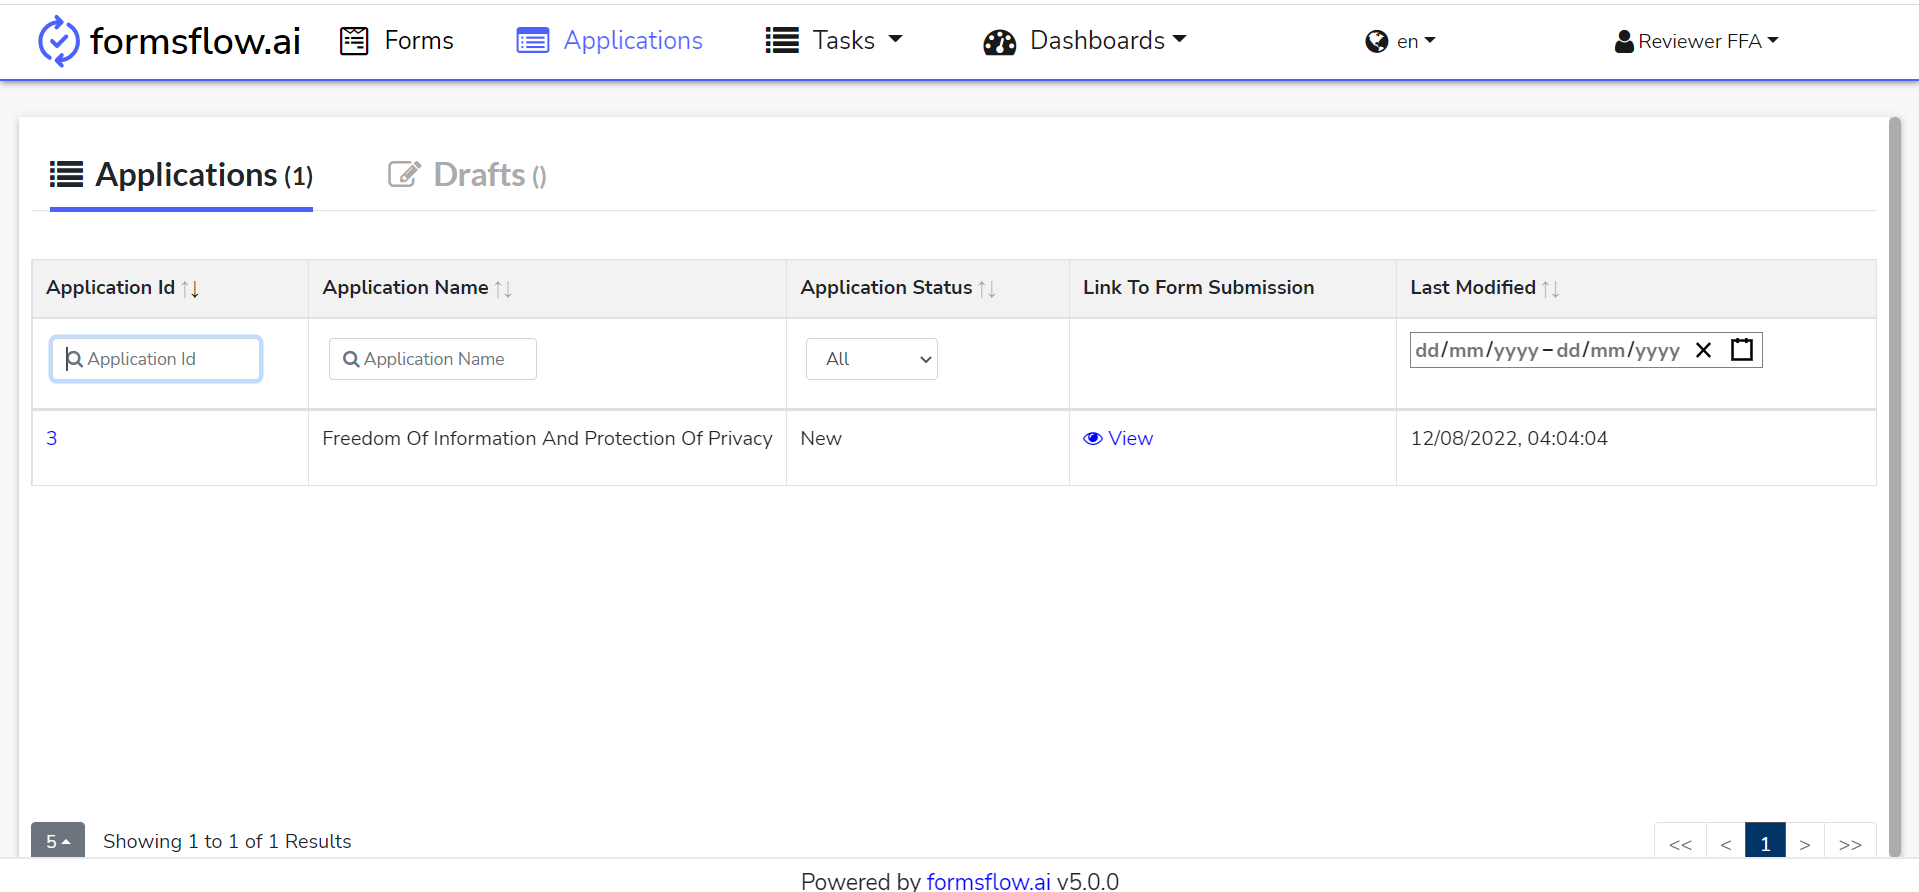
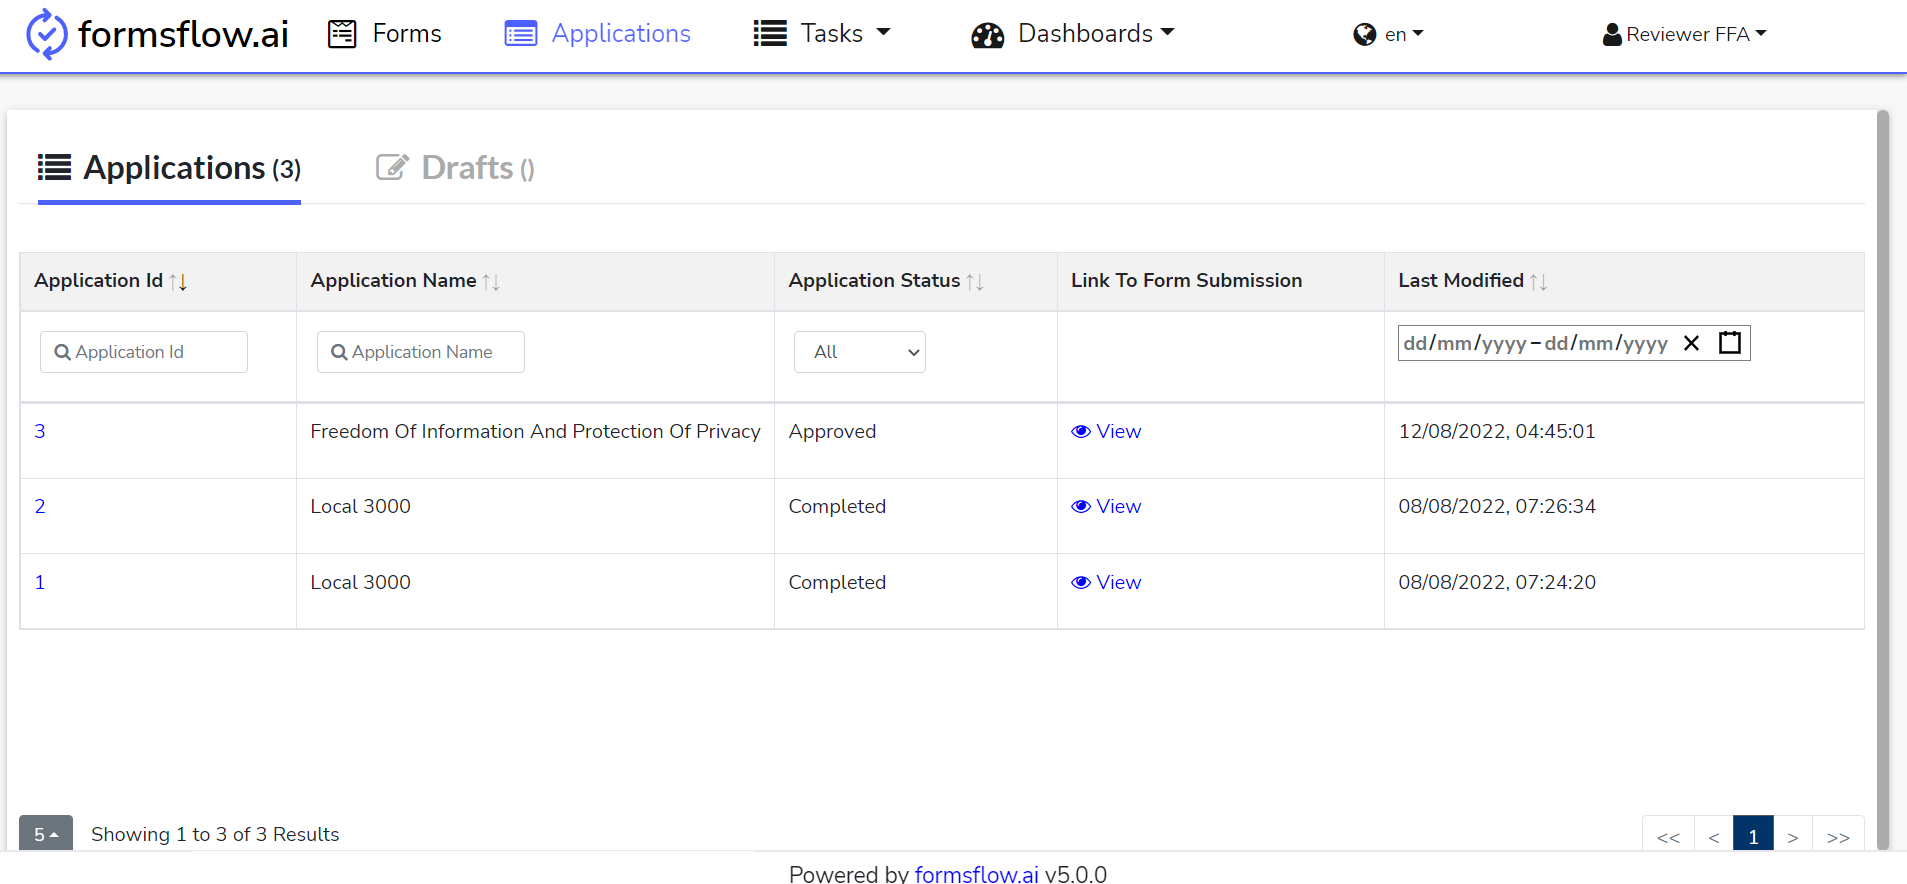
You can navigate to the Applications tab to view the Form submissions.
-
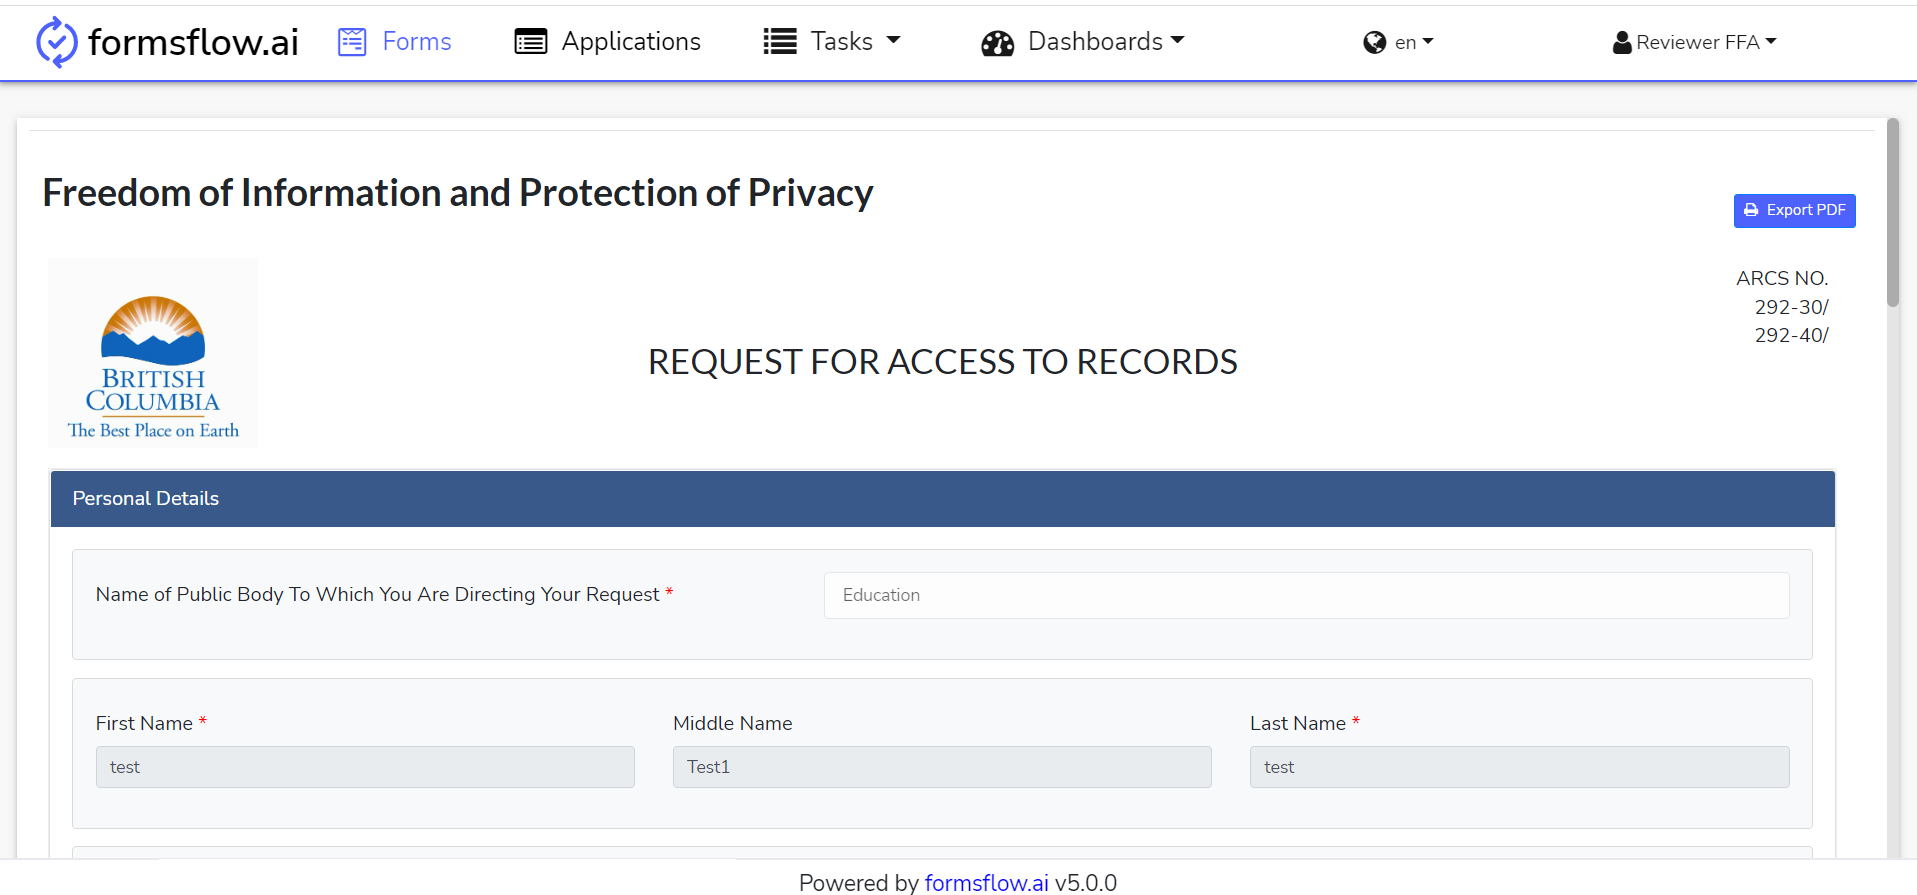
You can View the submissions against a form by clicking on the View button.
-
You can click on the Export PDF button to view the submission data as a PDF.

-
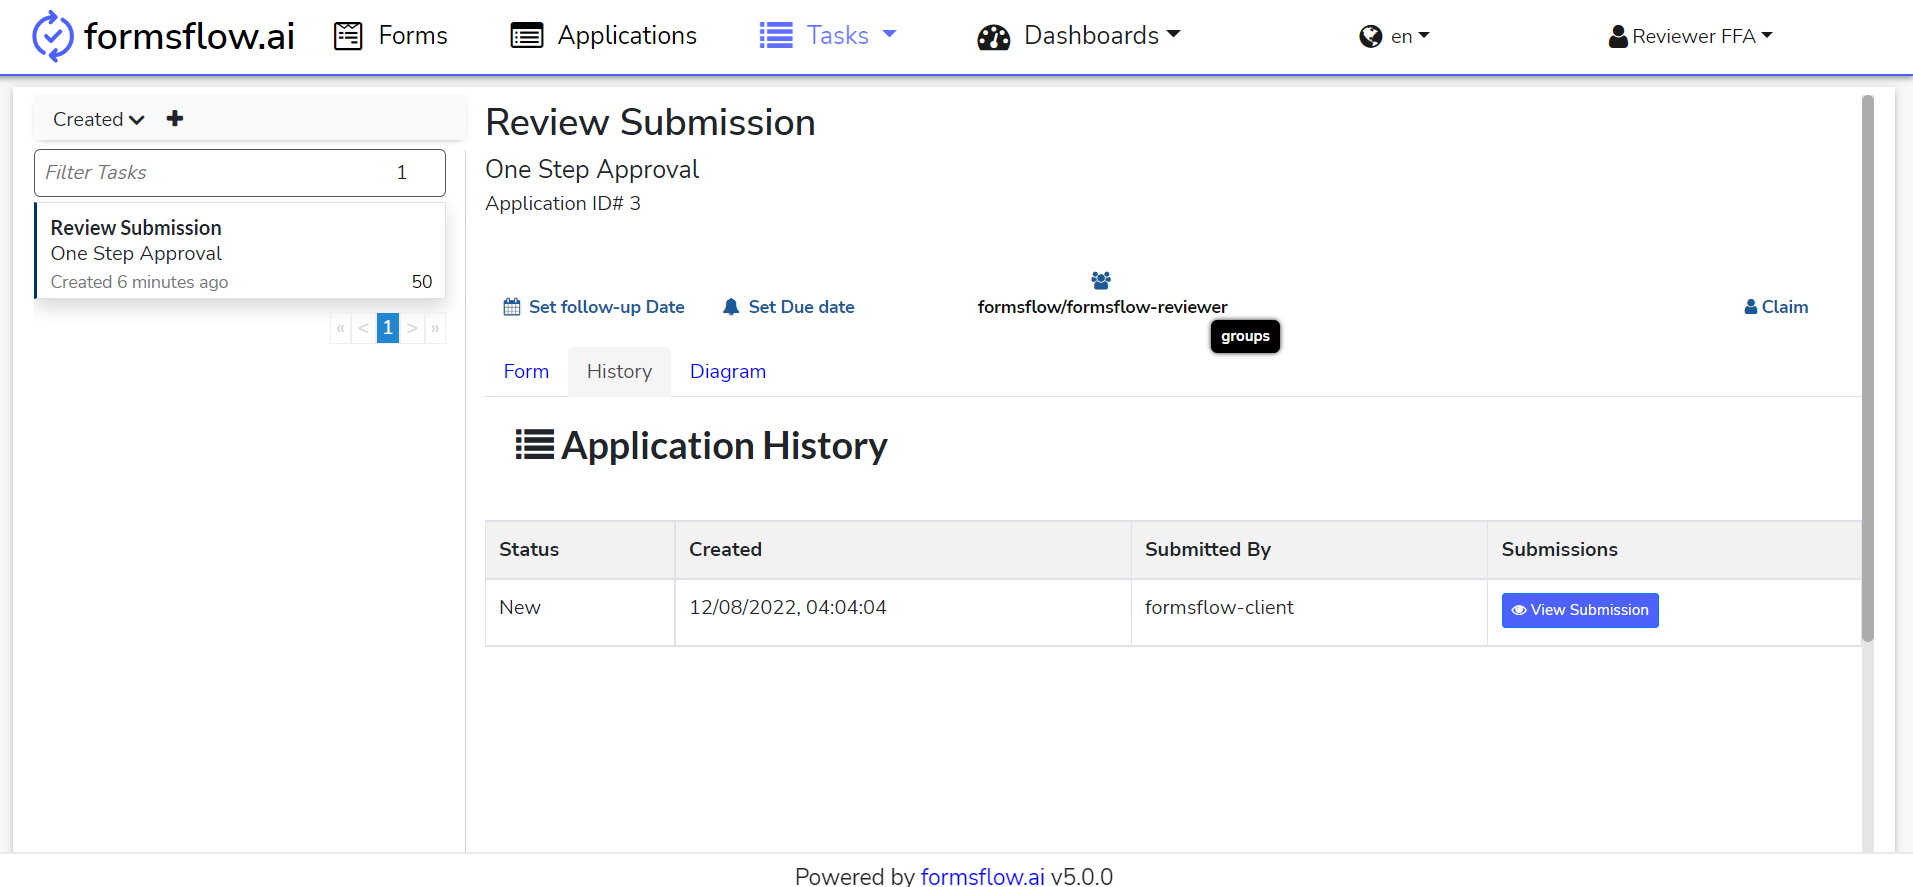
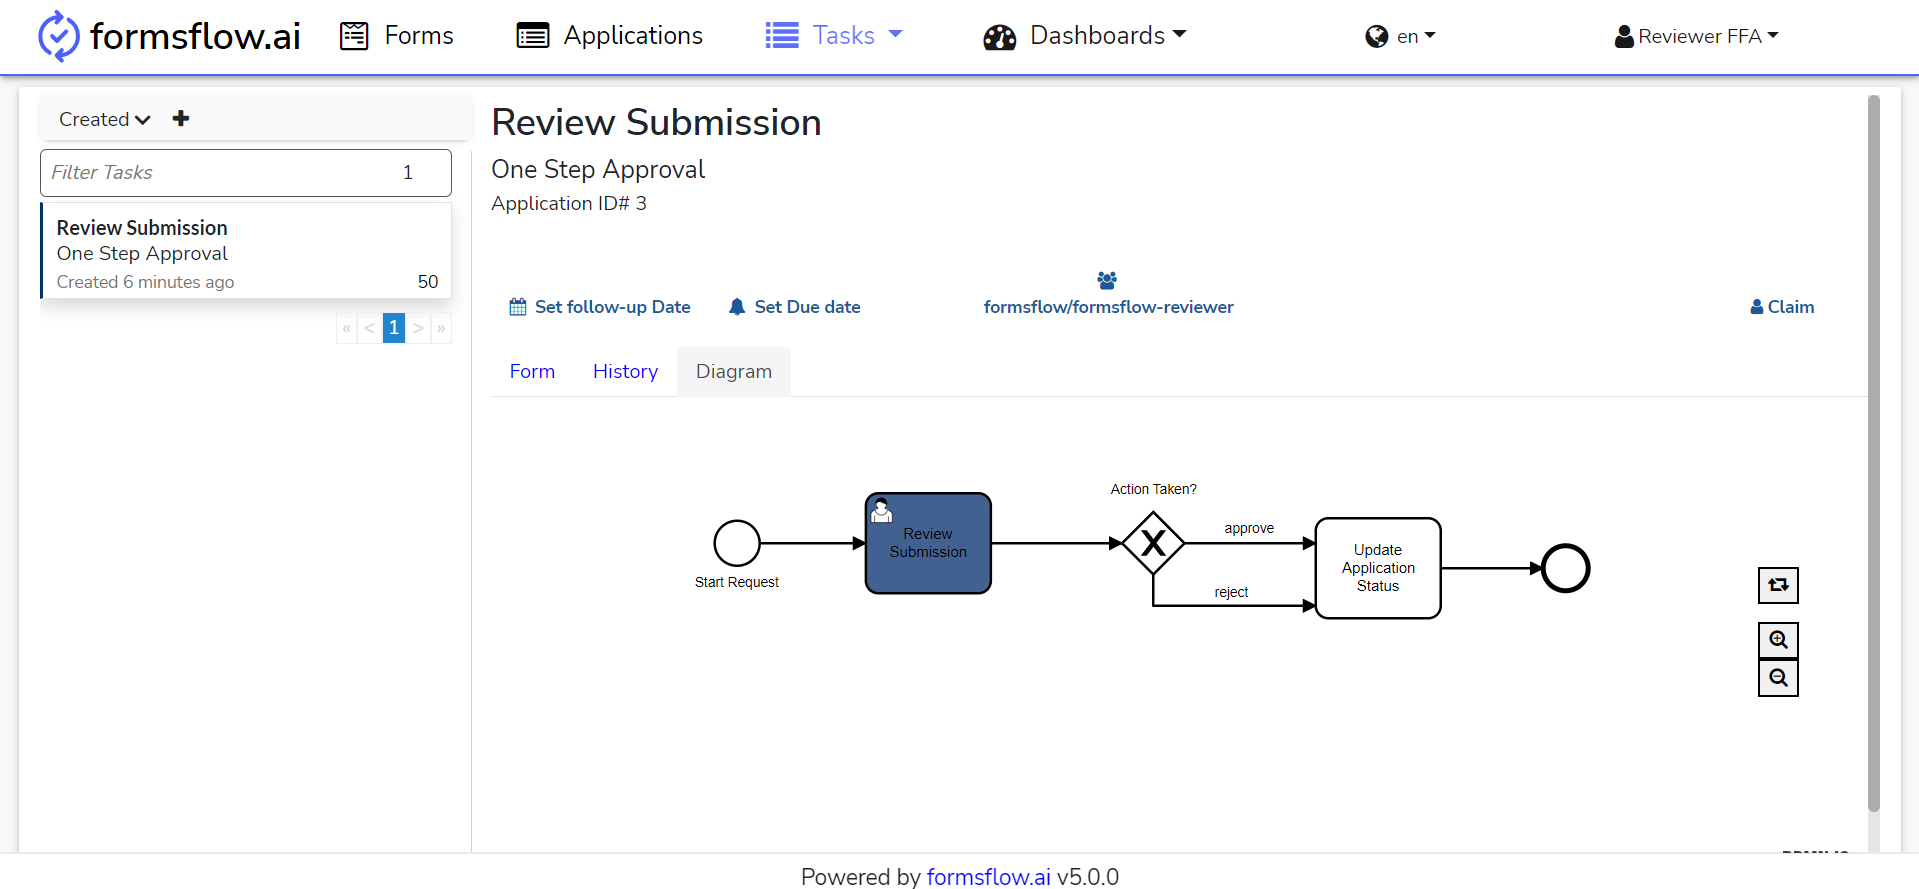
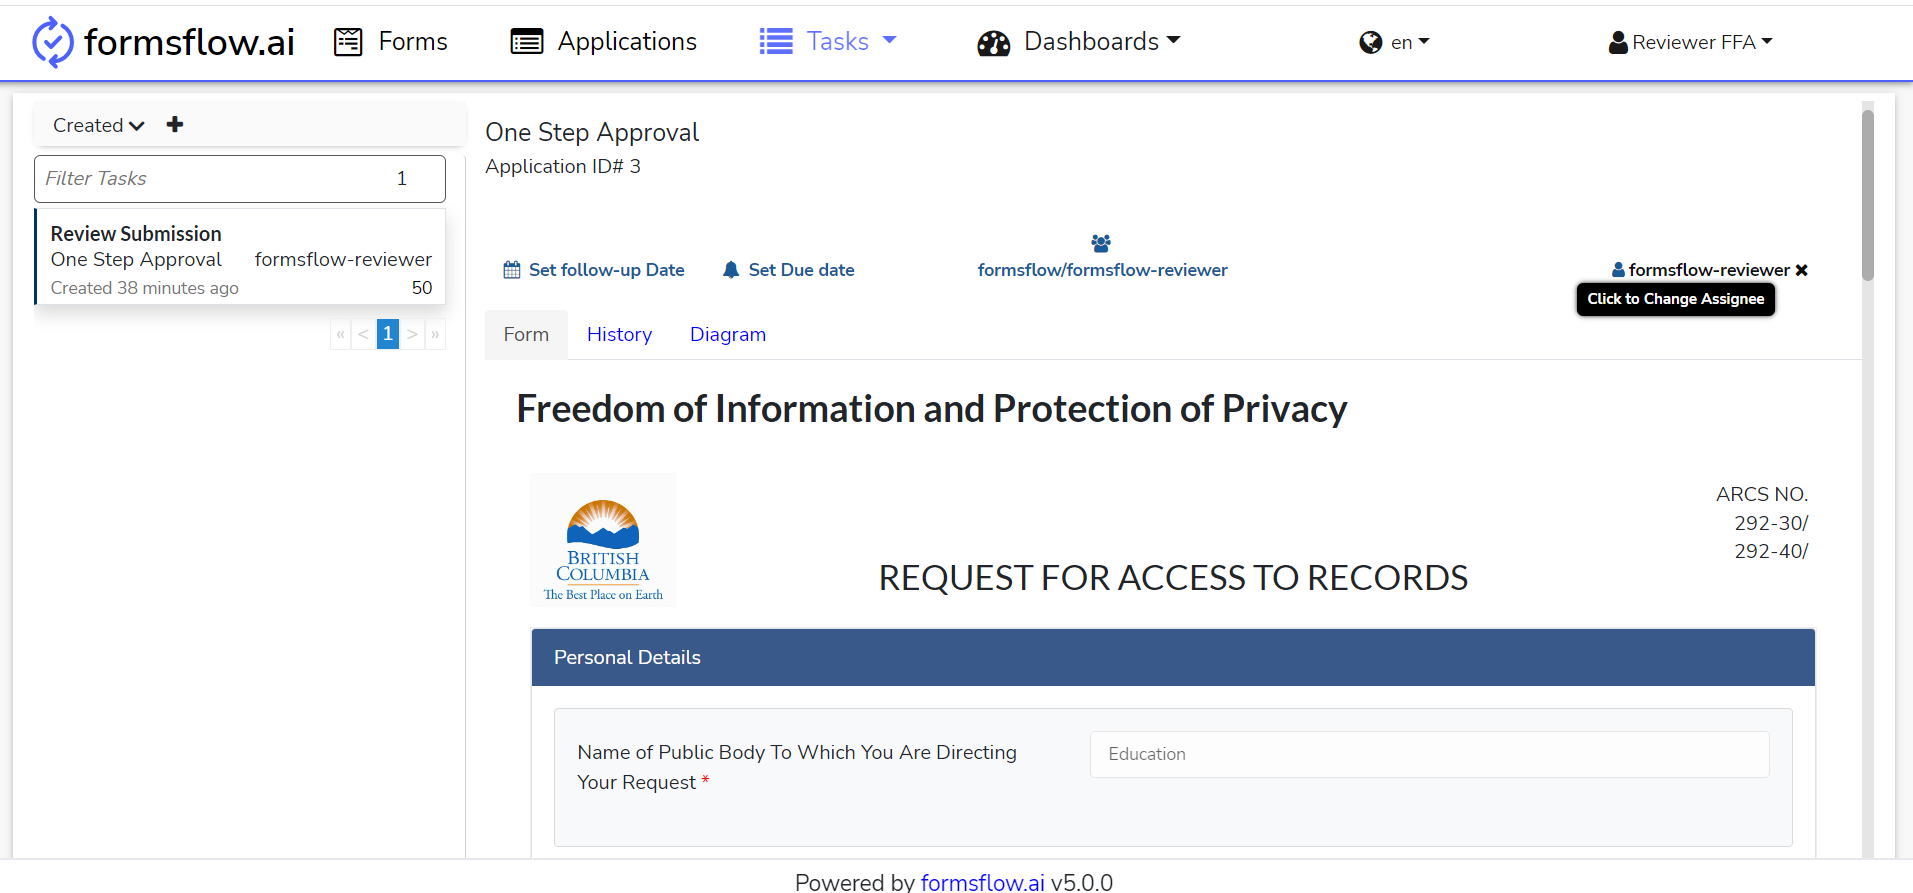
On clicking the associated task that was recently created, i.e., Freedom of Information and Protection of Privacy, the task detailed menu usually has three sections - Form, History, Diagram.
-
On claiming the task, the Reviewer can mark the form as reviewed or to return it with his/her feedback to the client.

-
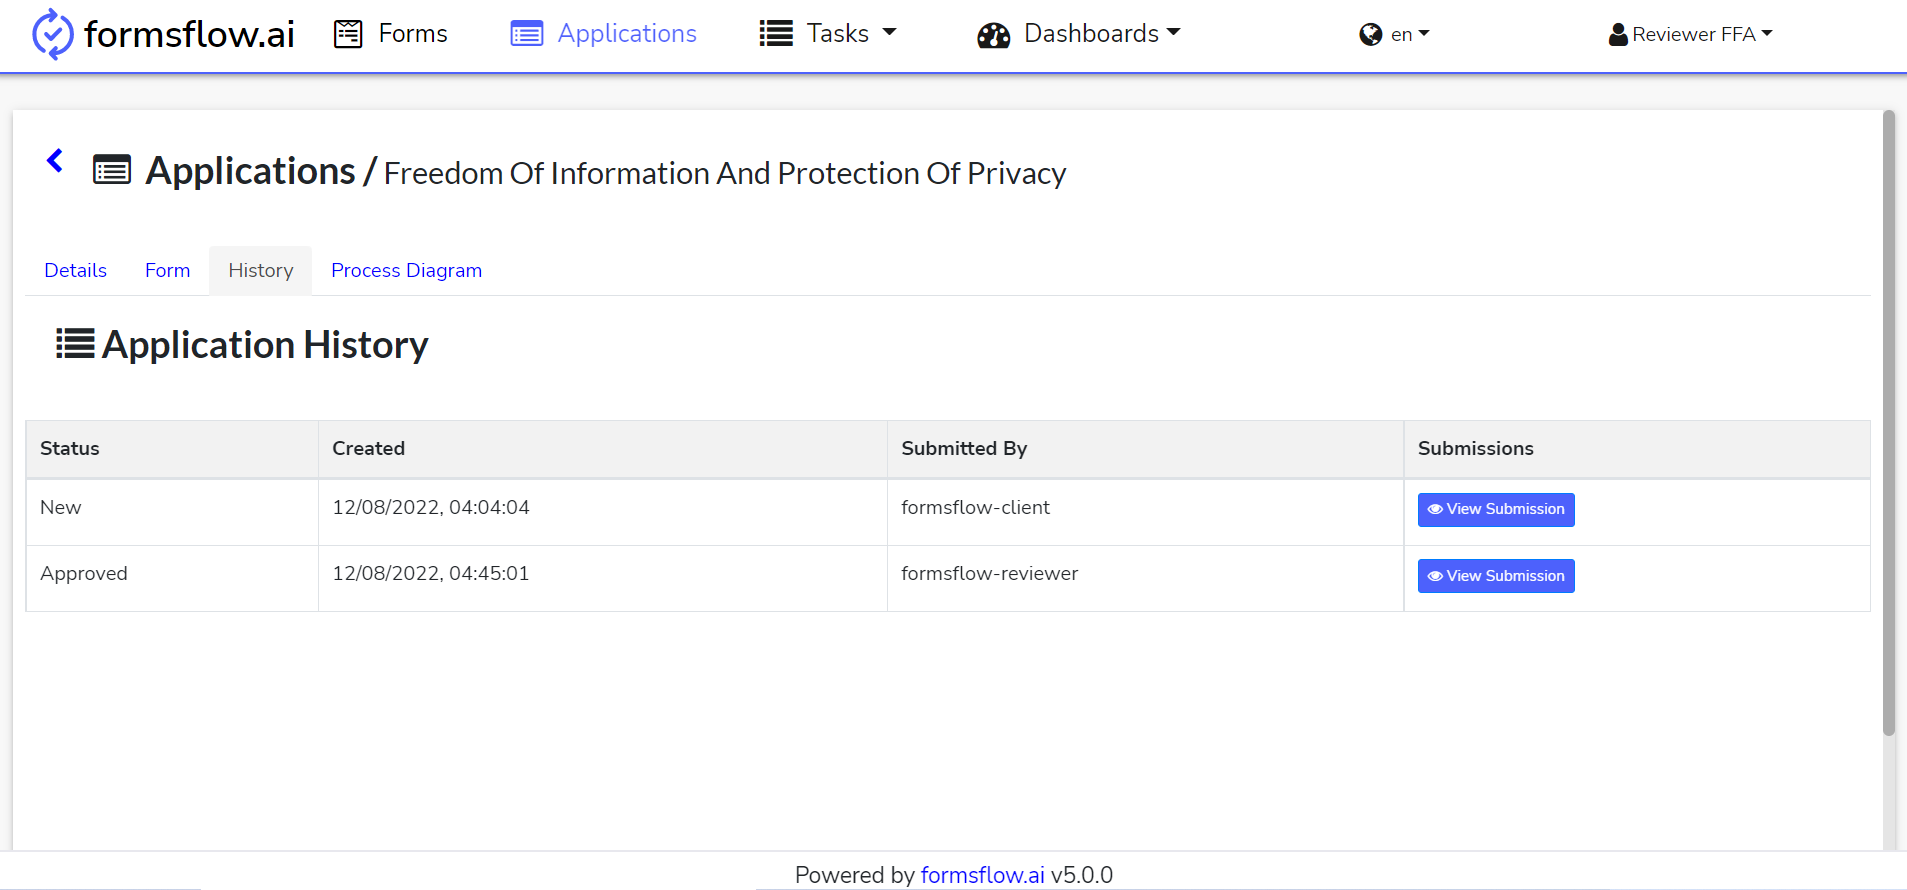
In the Application section, the form submission history can be found and the form can be viewed.
-
Reviewer action is completed.
Create New Business License Application
The following instructions are using an example form from the Form.io - Create New Business License Application.
Designer Steps
-
Log in to http://localhost:3000 (forms-flow-web) with valid user credentials for the designer.
-
After the login is successful you will be redirected to http://localhost:3000/form where you can
Create / View / Edit / Deletea form.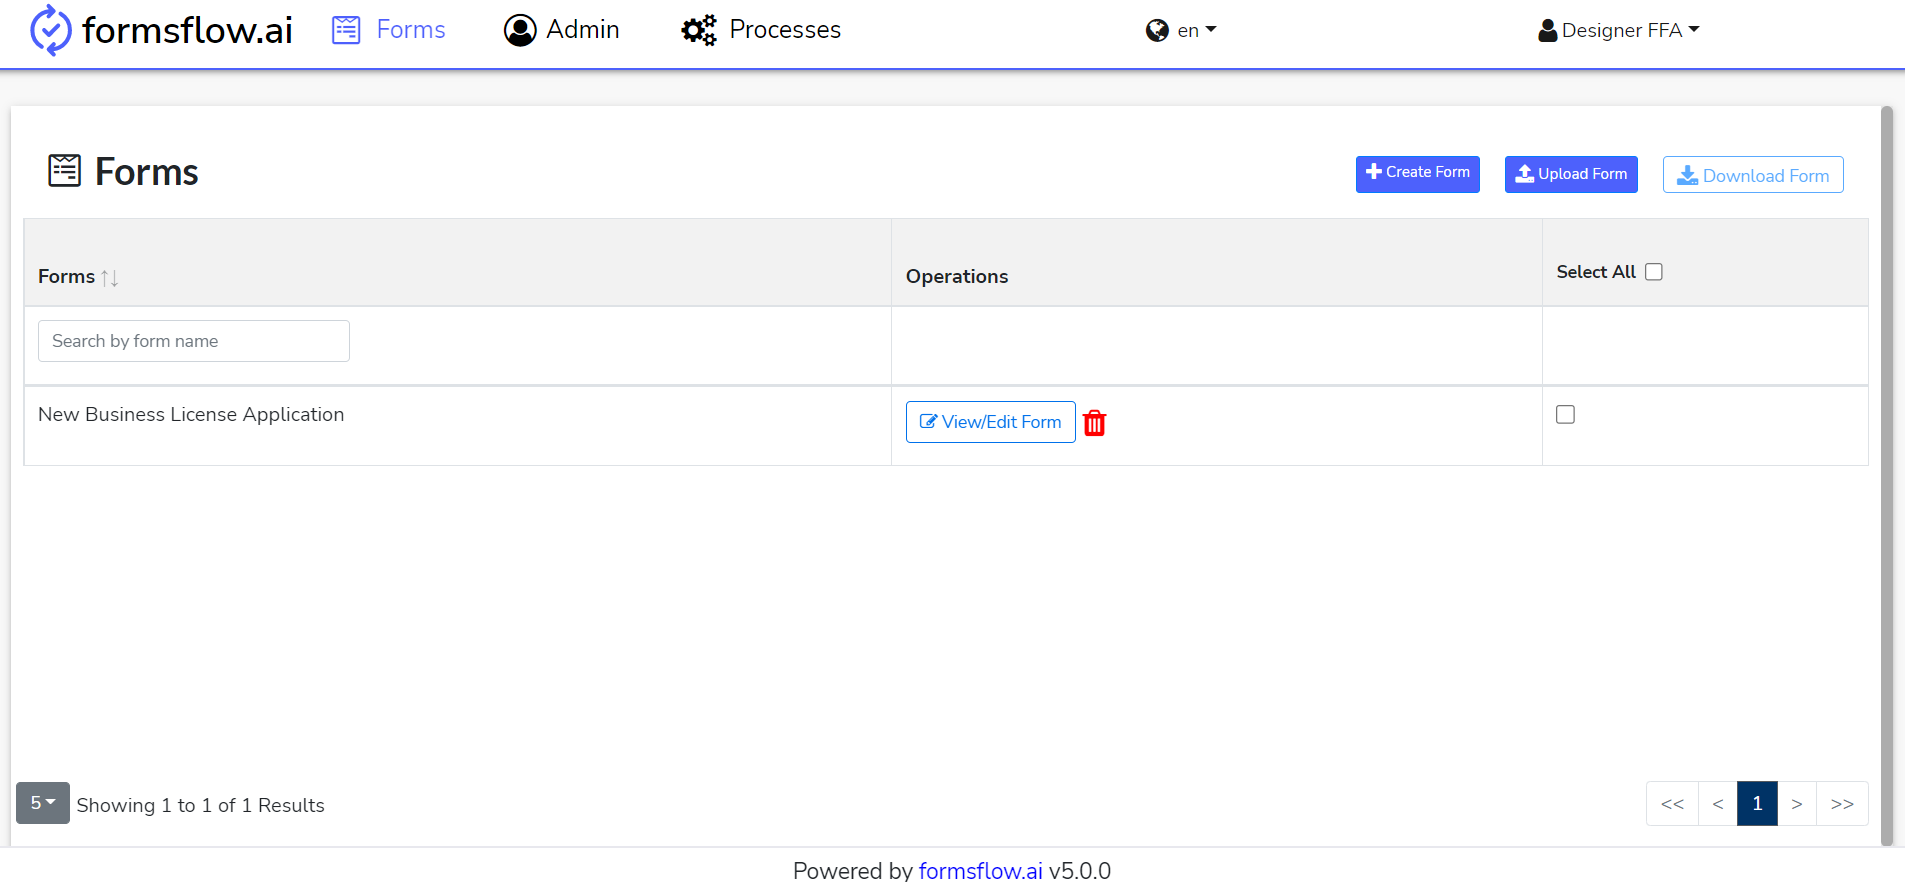
-
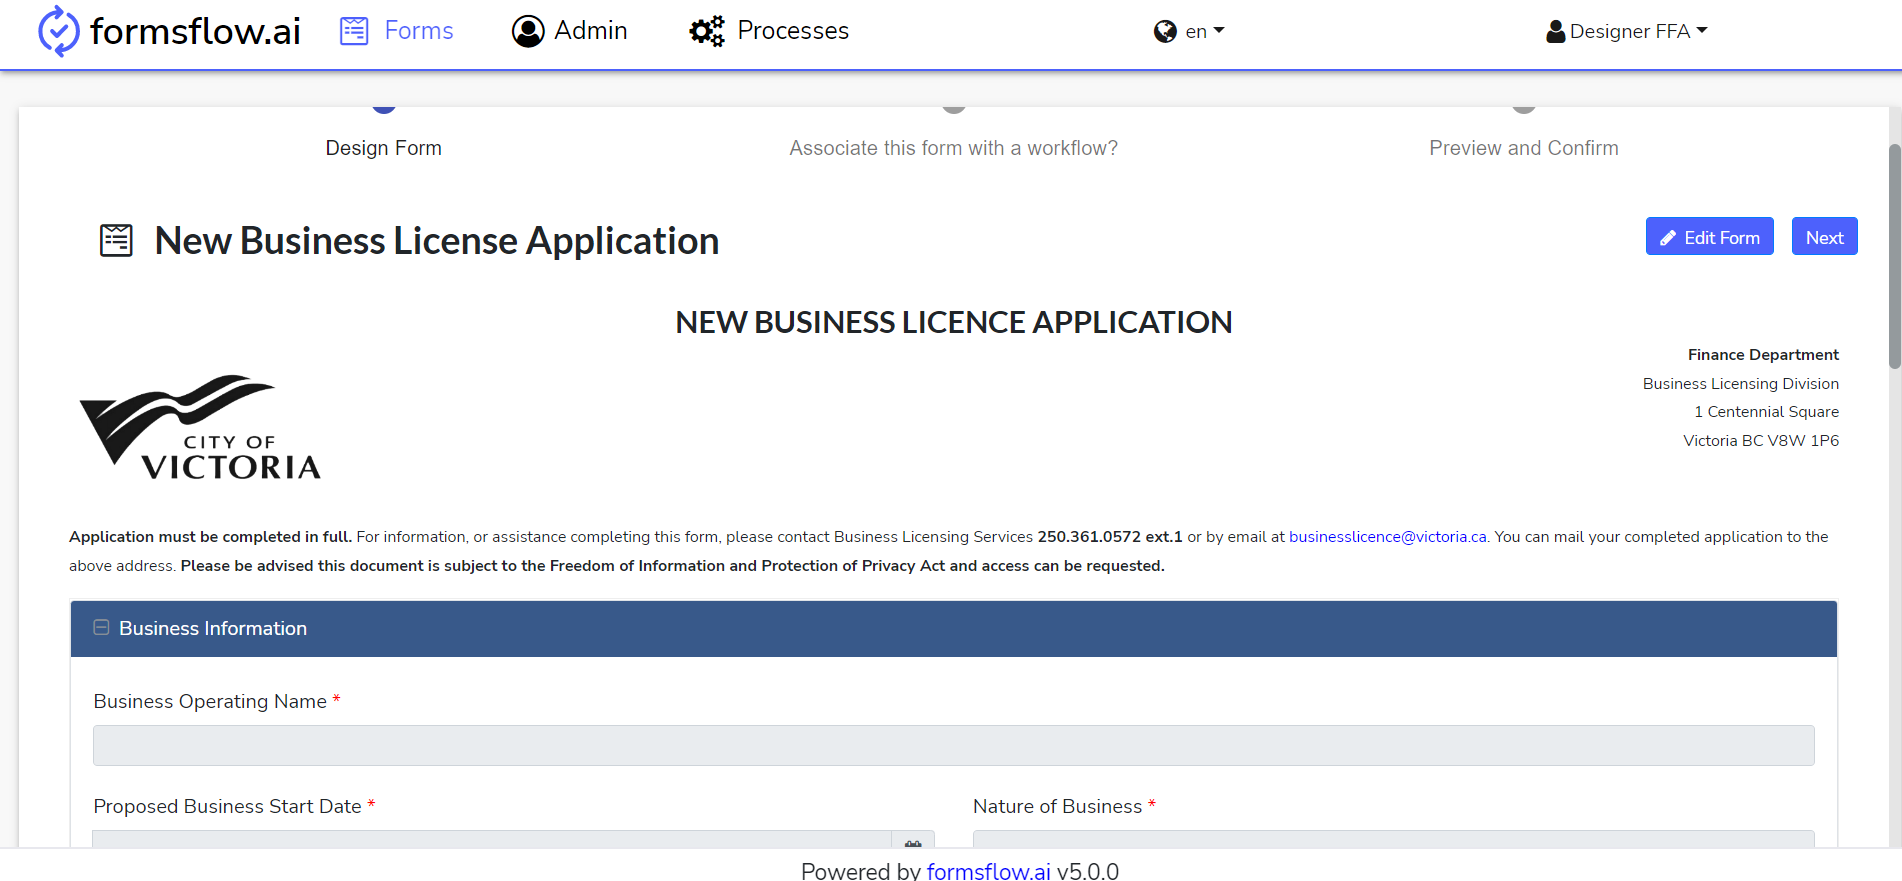
Select the New Business License Application form by clicking on it.
-
You can modify the form by clicking on the View/Edit Form button or continue by clicking the Next button.
-
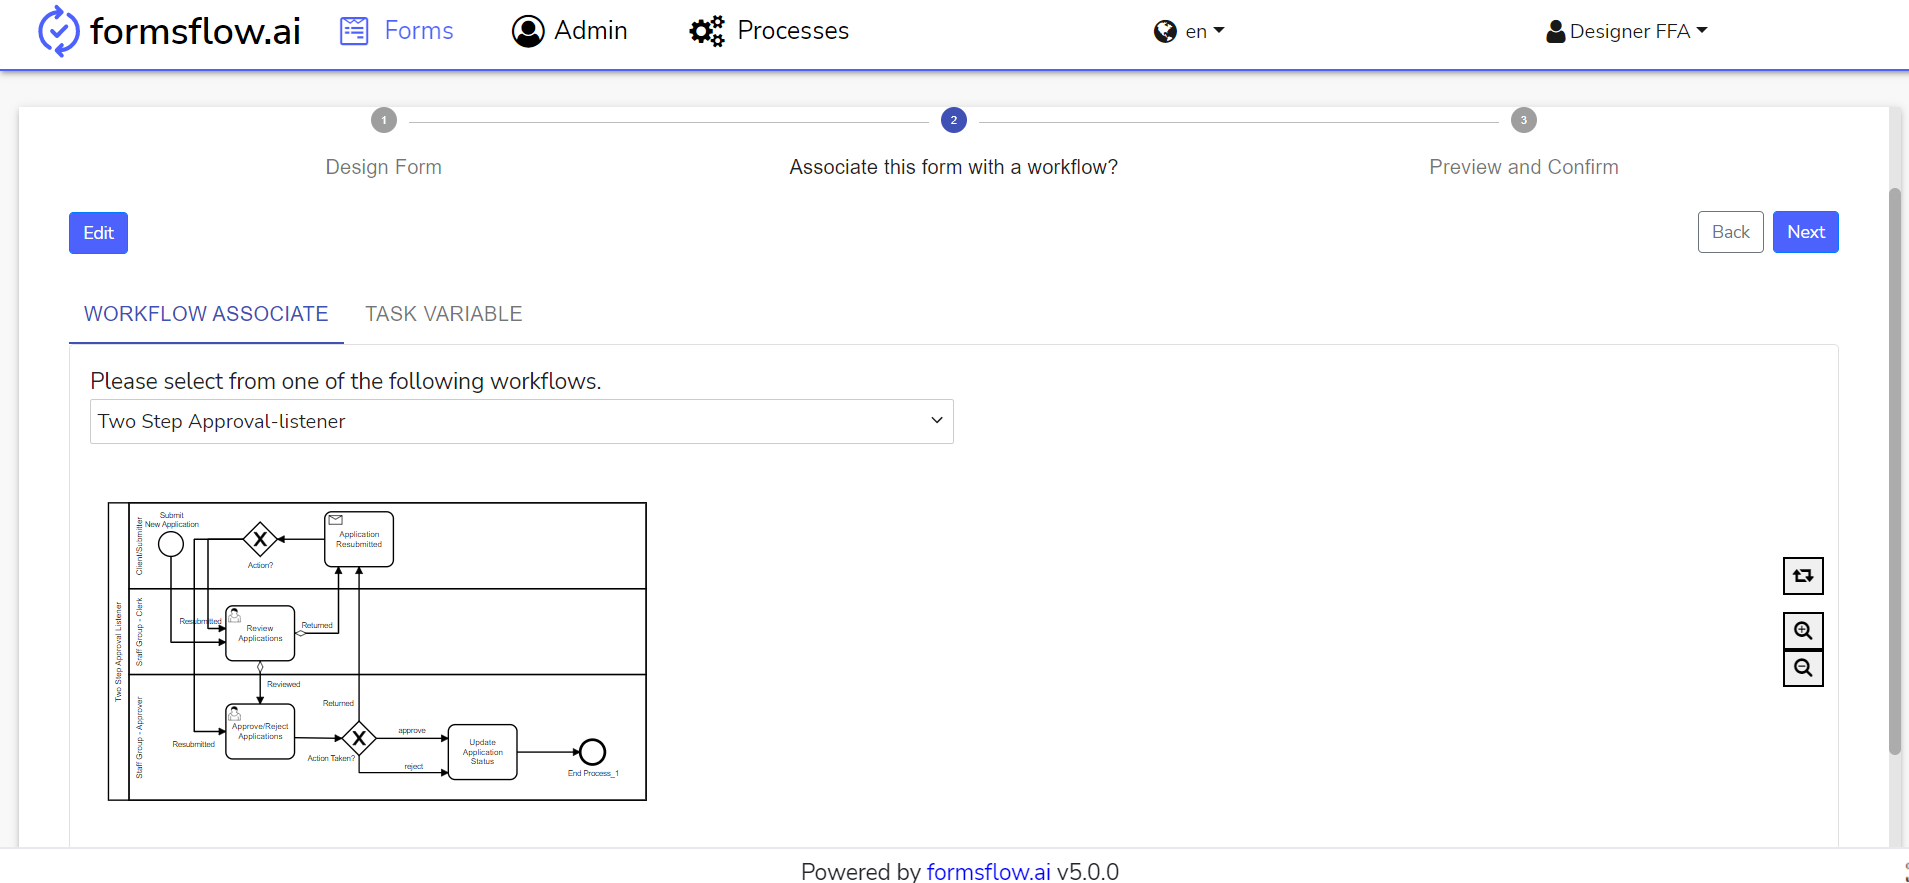
At this stage form designing is completed, you can click on the EDIT Button and associate a workflow - Two-Step Approval-listener.
-
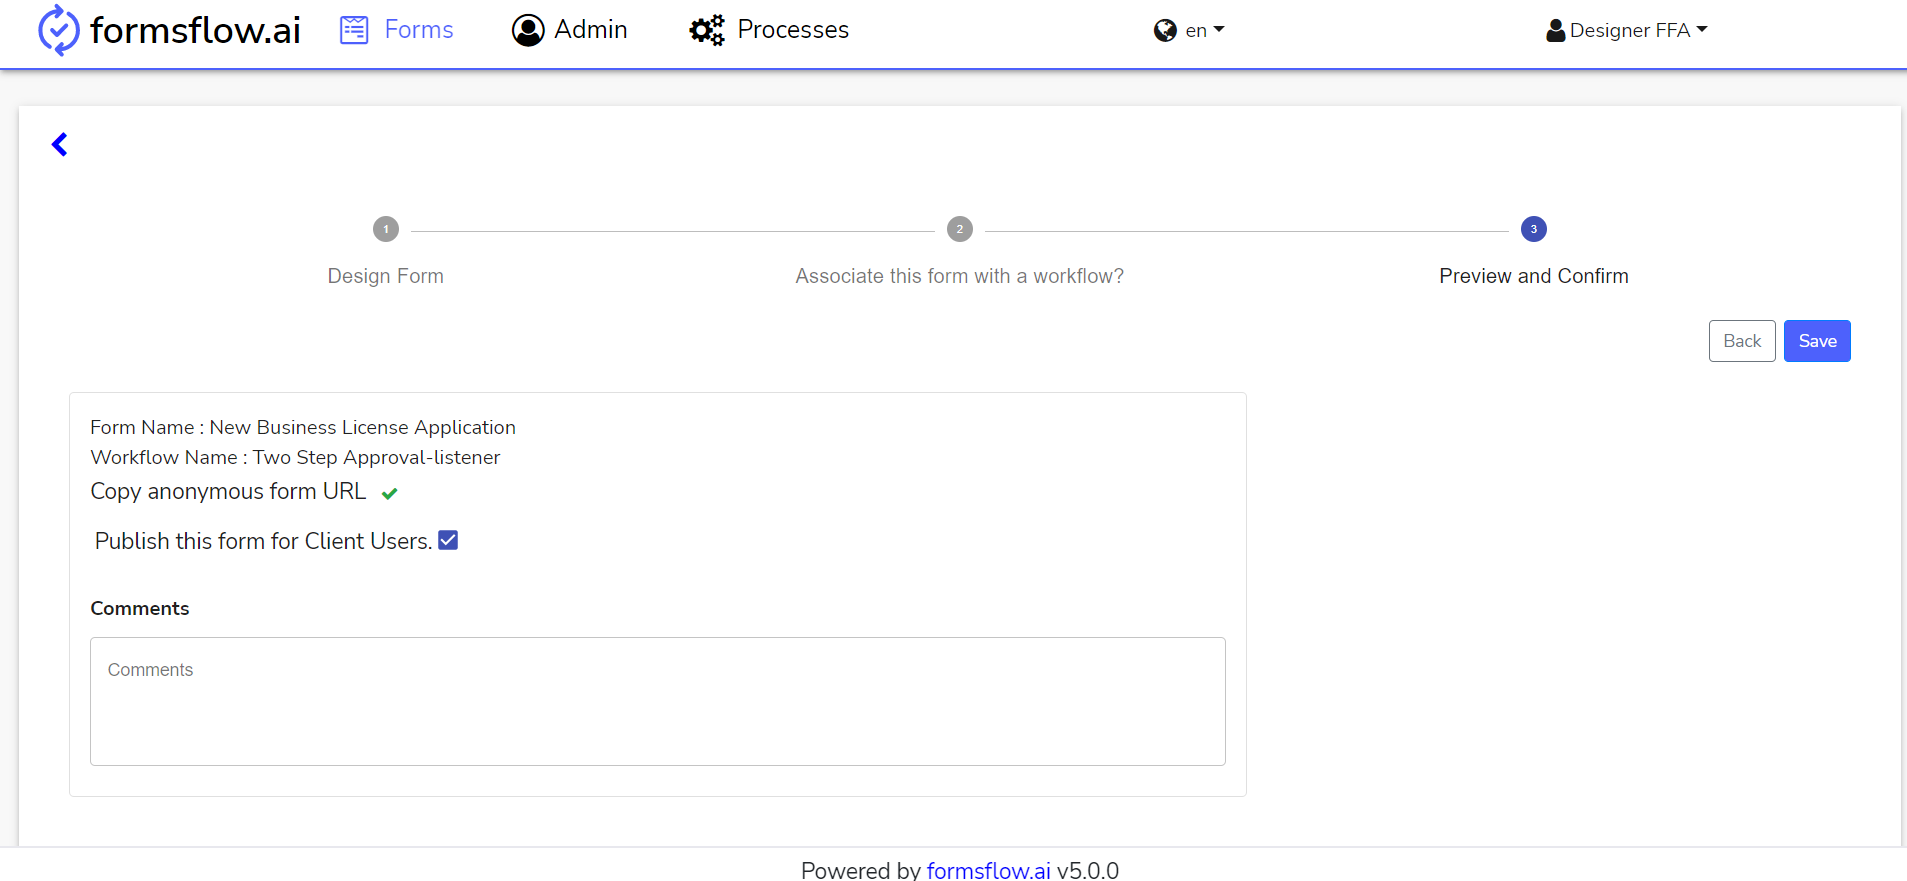
After the associate workflow is completed click on the Next Button to Preview and Confirm.
-
Click on SAVE Button to complete designing a form.
-
Form designing is successfully completed, you can now Log out and go to Client Steps.
Client Steps
-
Log in to http://localhost:3000 (forms-flow-web) with valid default user credentials for the client.
-
After the login is successful you will be redirected to http://localhost:3000/form where you can View and Submit a form.

-
Click Submit New button on the form which you wanted to submit.
-
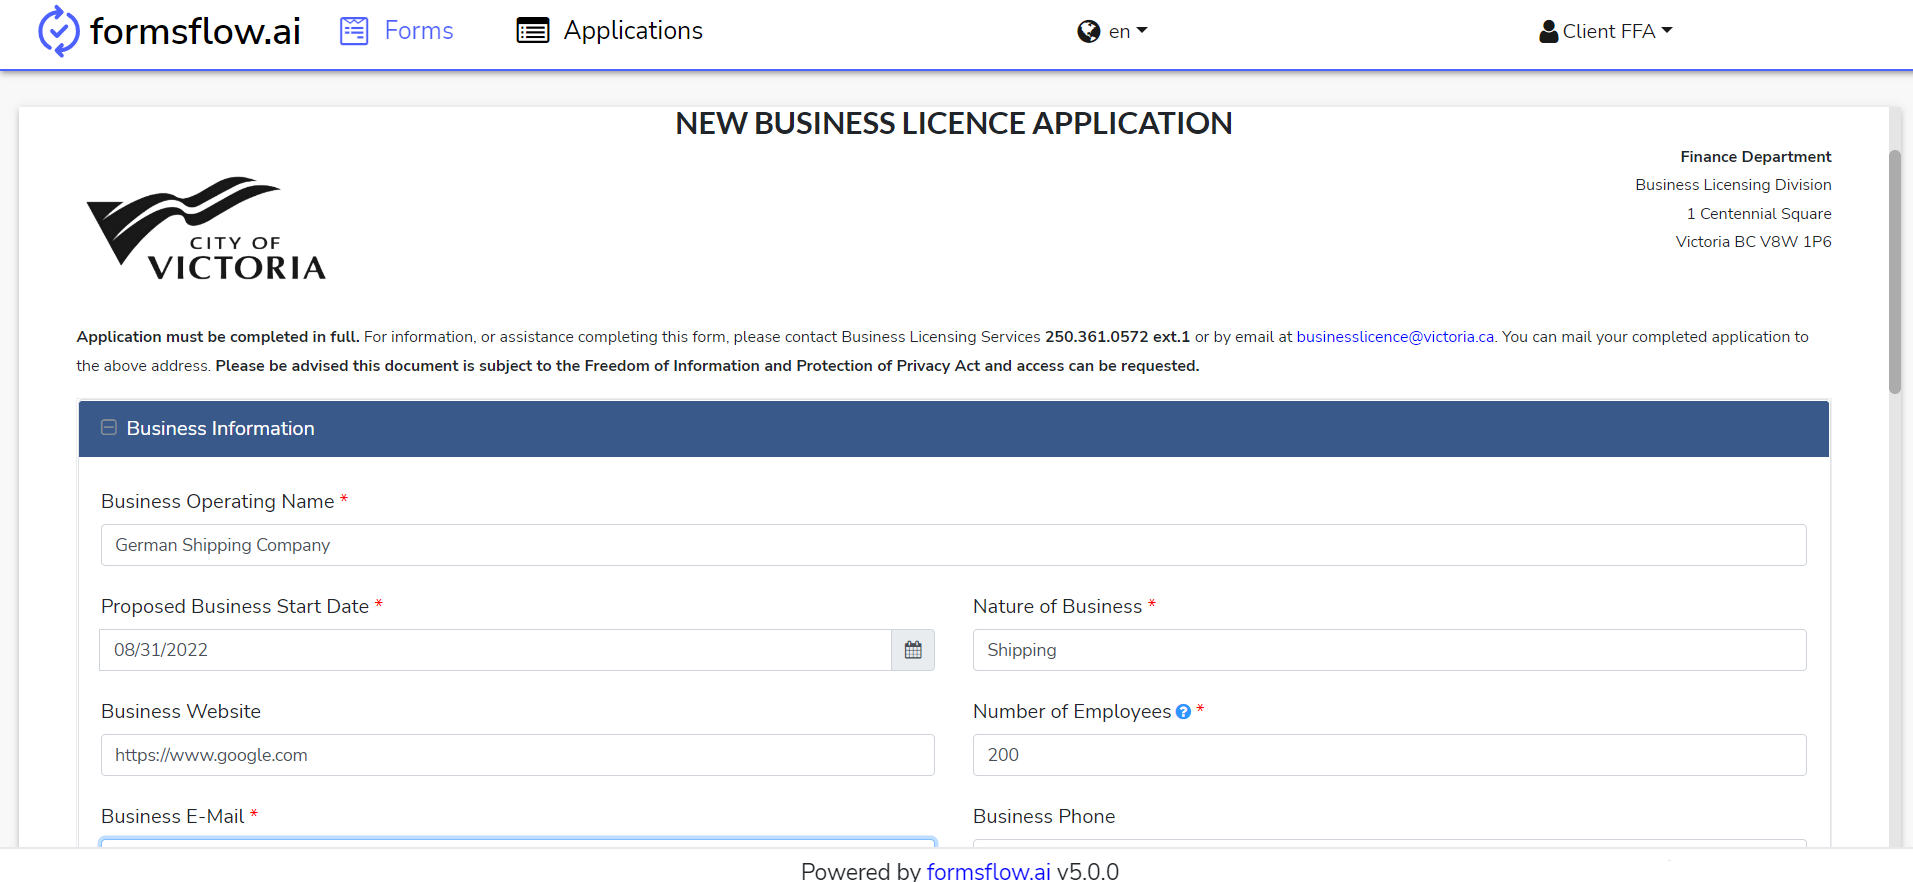
The previous action will redirect you to the form, where you can fill in the details and Submit them.
-
Fill in the details and Submit the form, You can repeat this action as per your requirement.
-
If you had associated a workflow with the form, the form will start the workflow.
-
This action is completed, you can now Log out and go to Clerk Steps.
Clerk Steps
-
Log in to http://localhost:3000 (forms-flow-web) with valid default user credentials for Clerk.
-
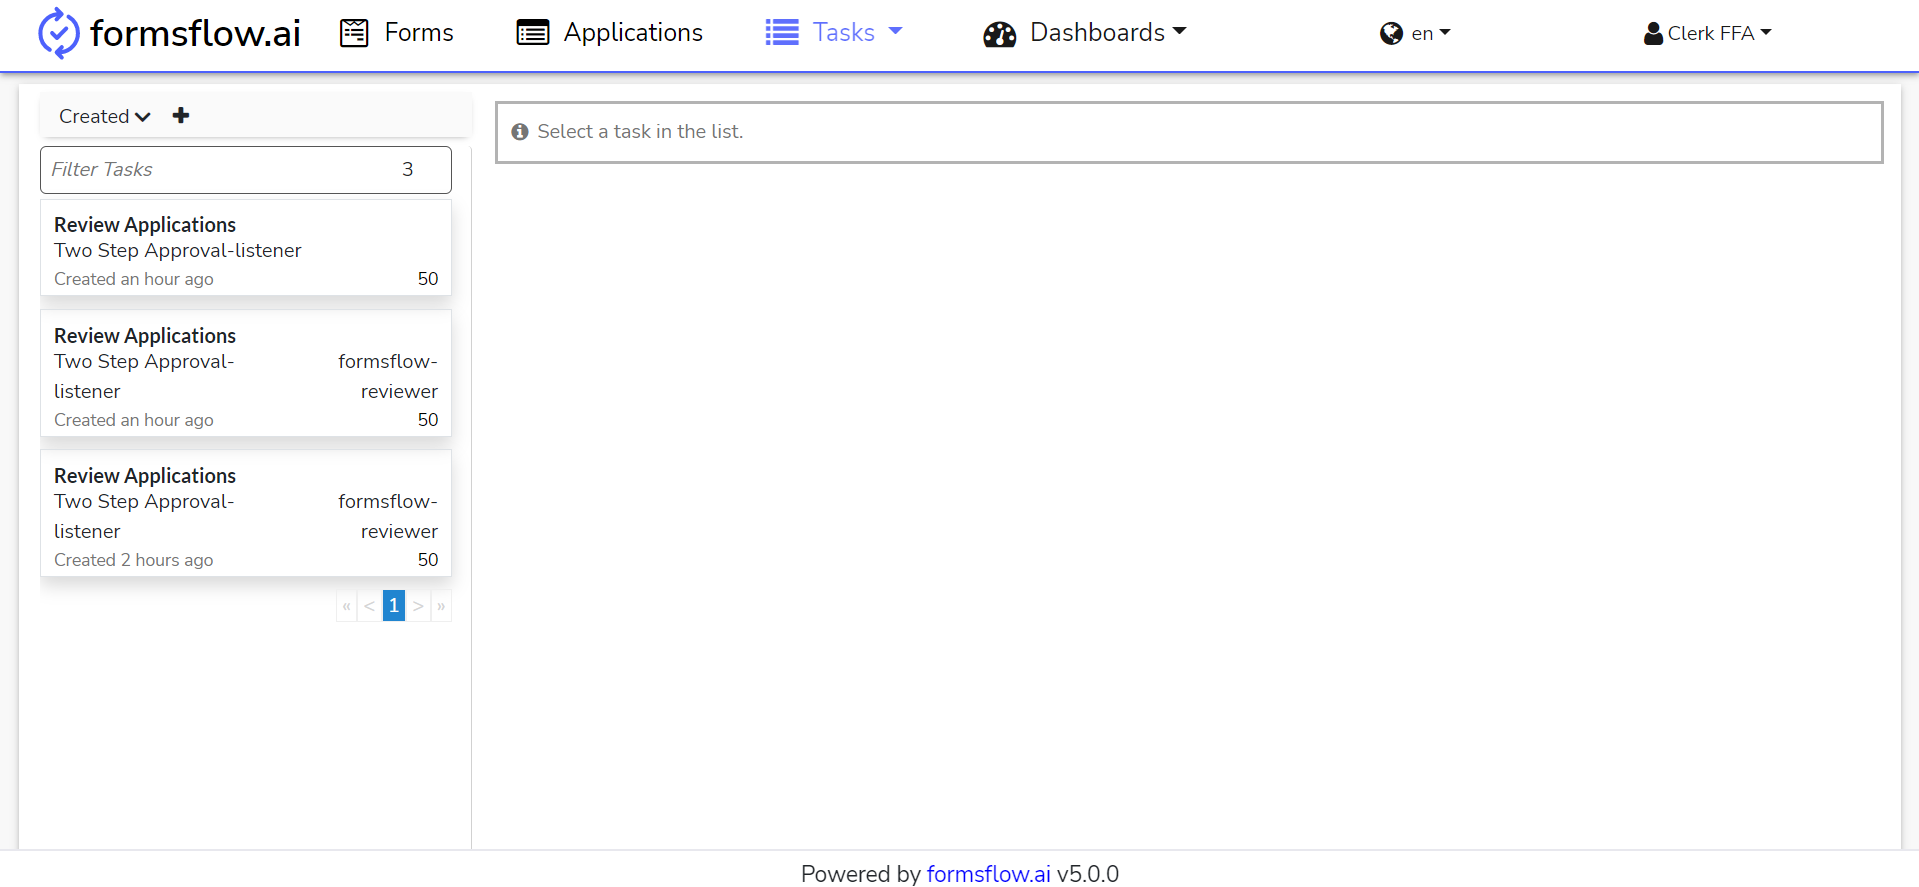
After the login is successful you will be redirected to http://localhost:3000/task.
-
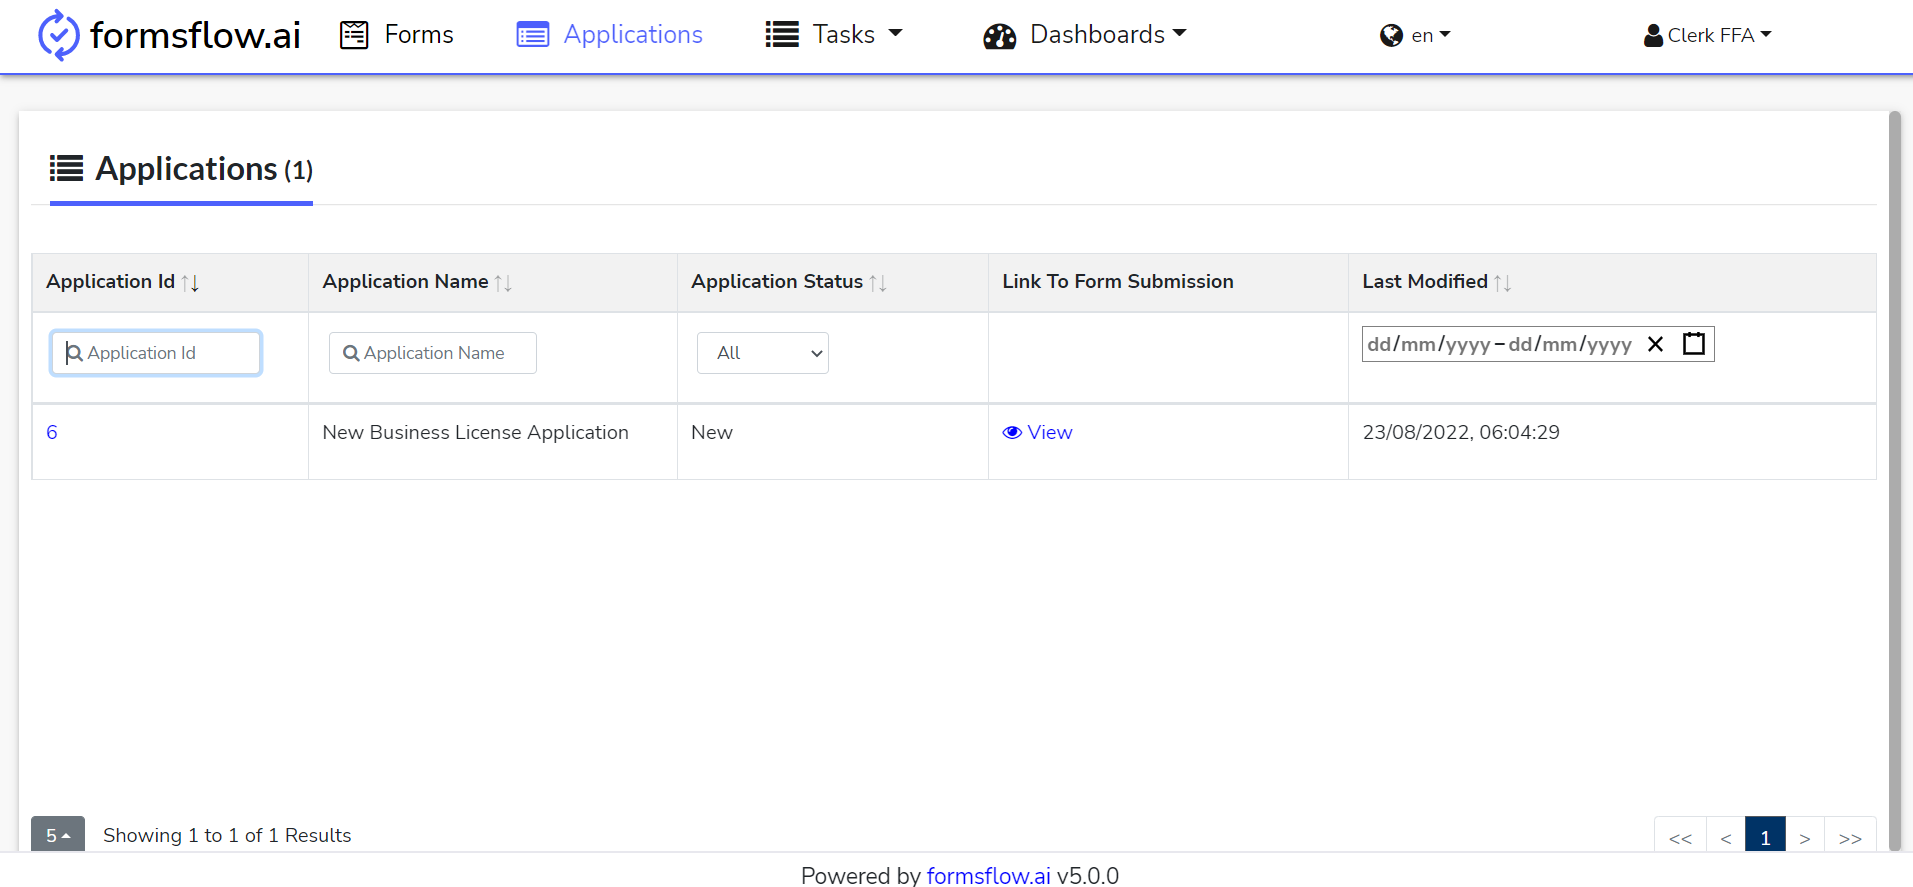
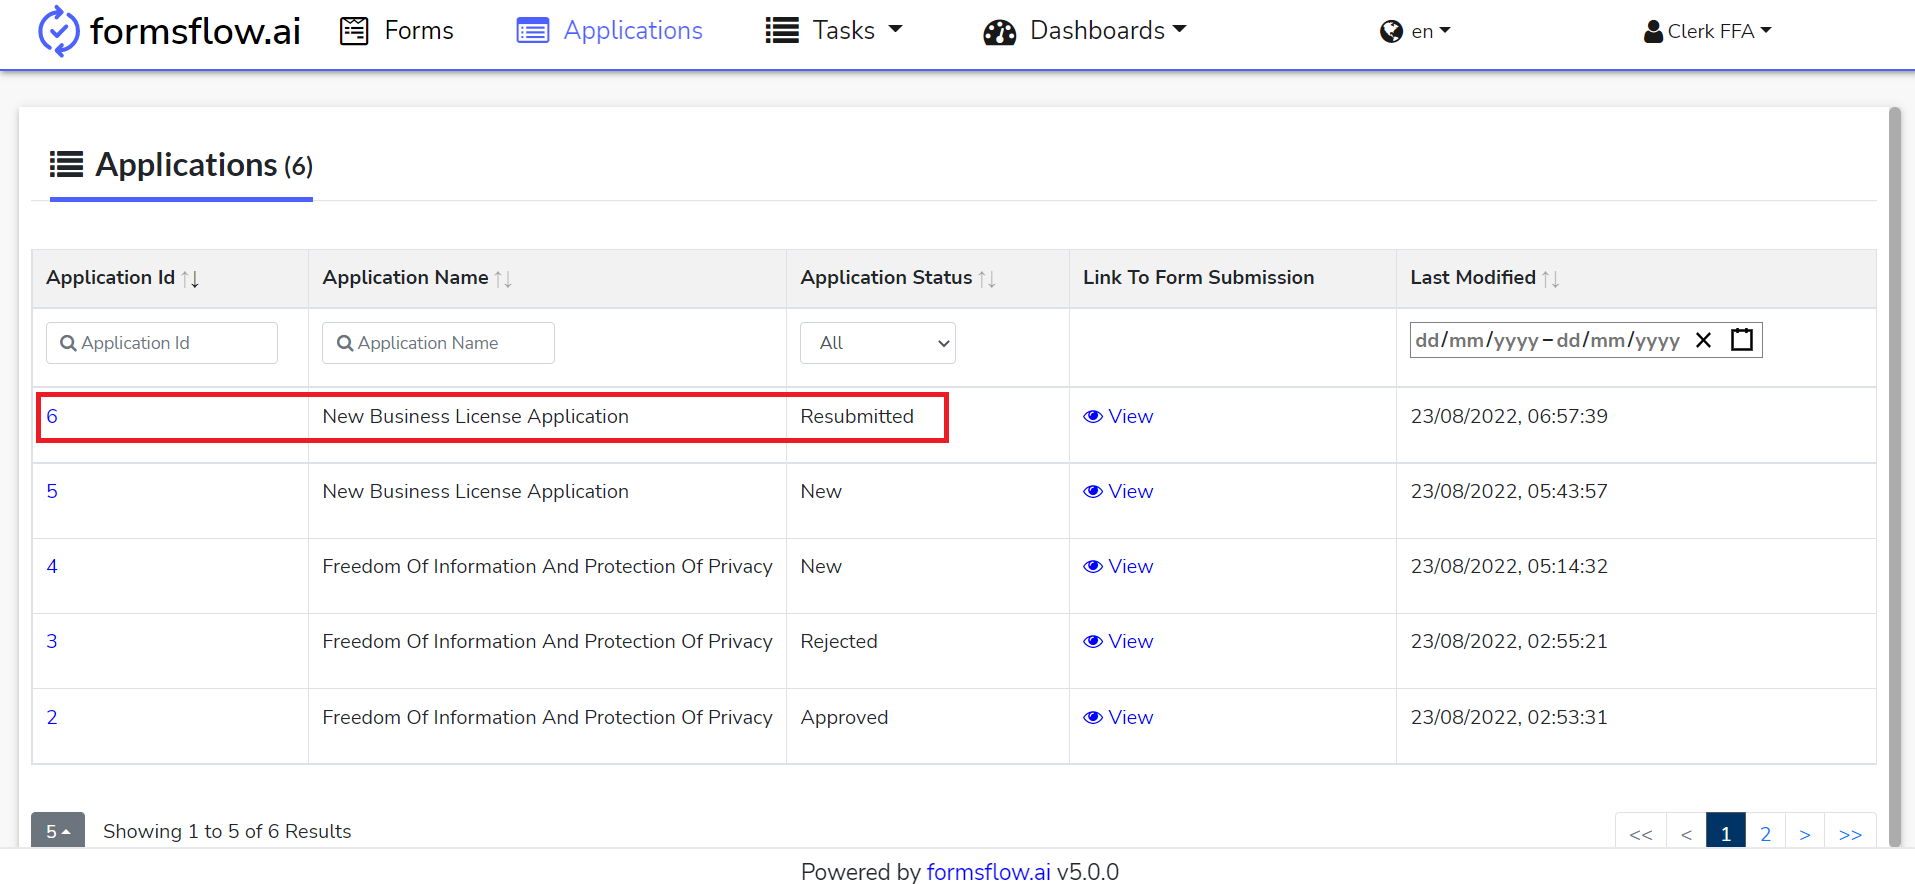
You can navigate to the Applications tab to View the Form submissions.
-
The associated task can be found for the Clerk role in the Task Menu section.
-
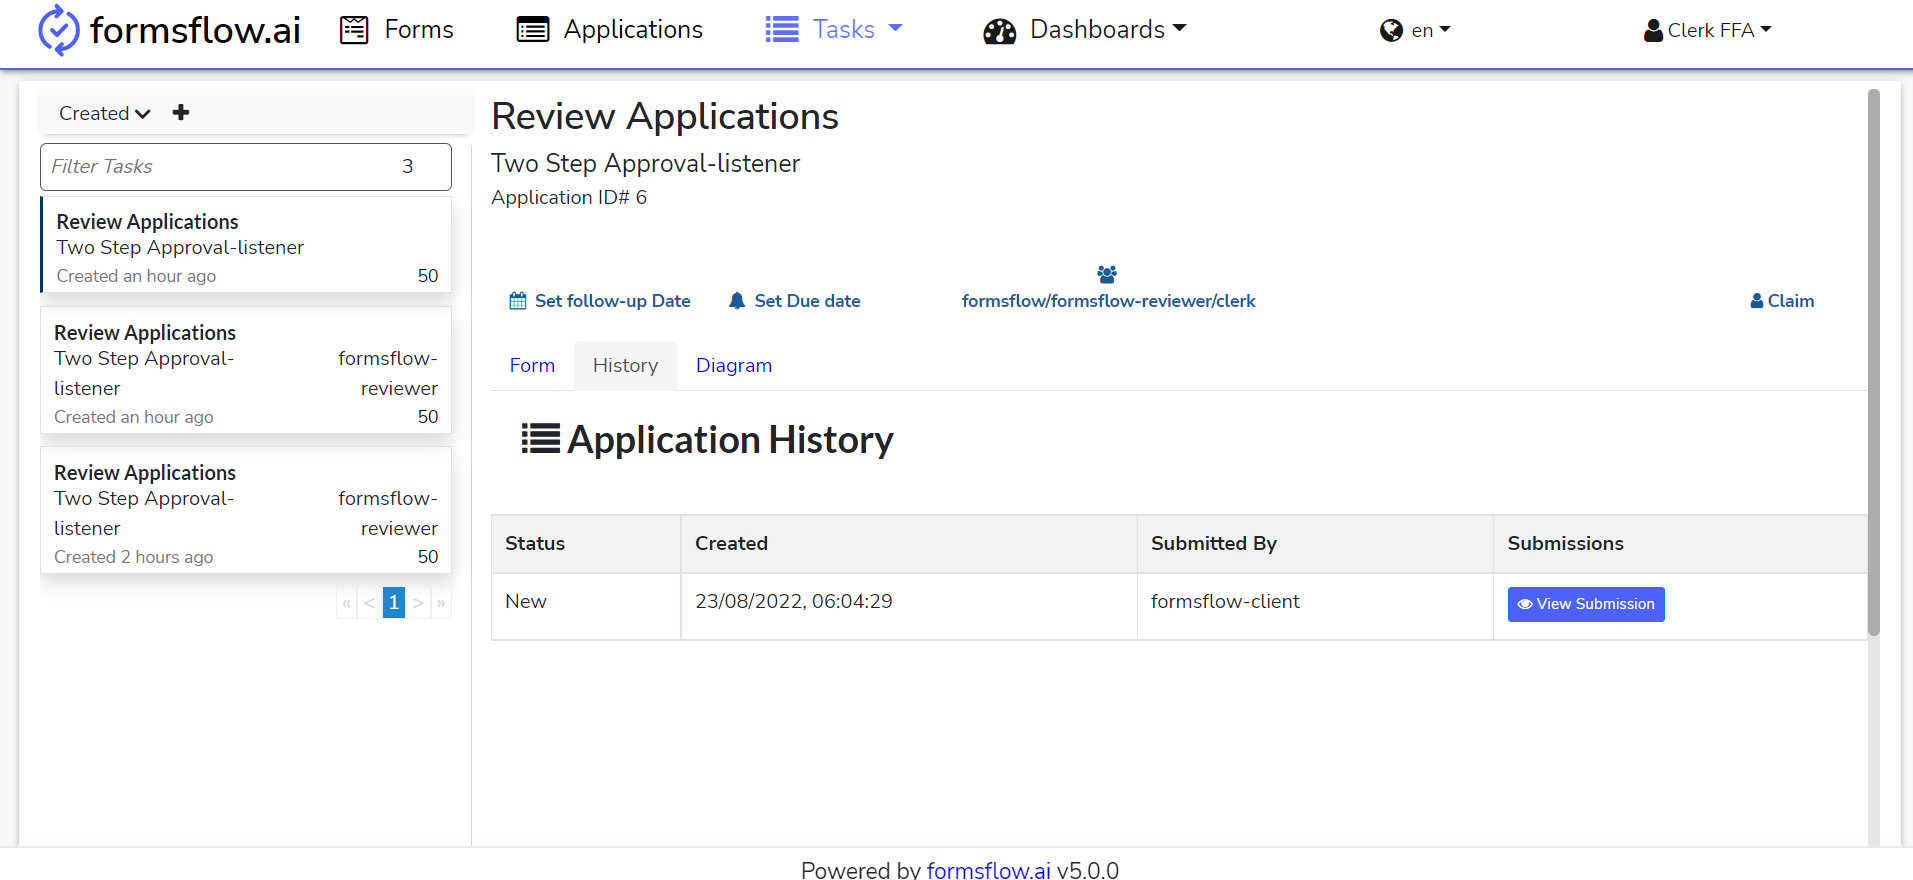
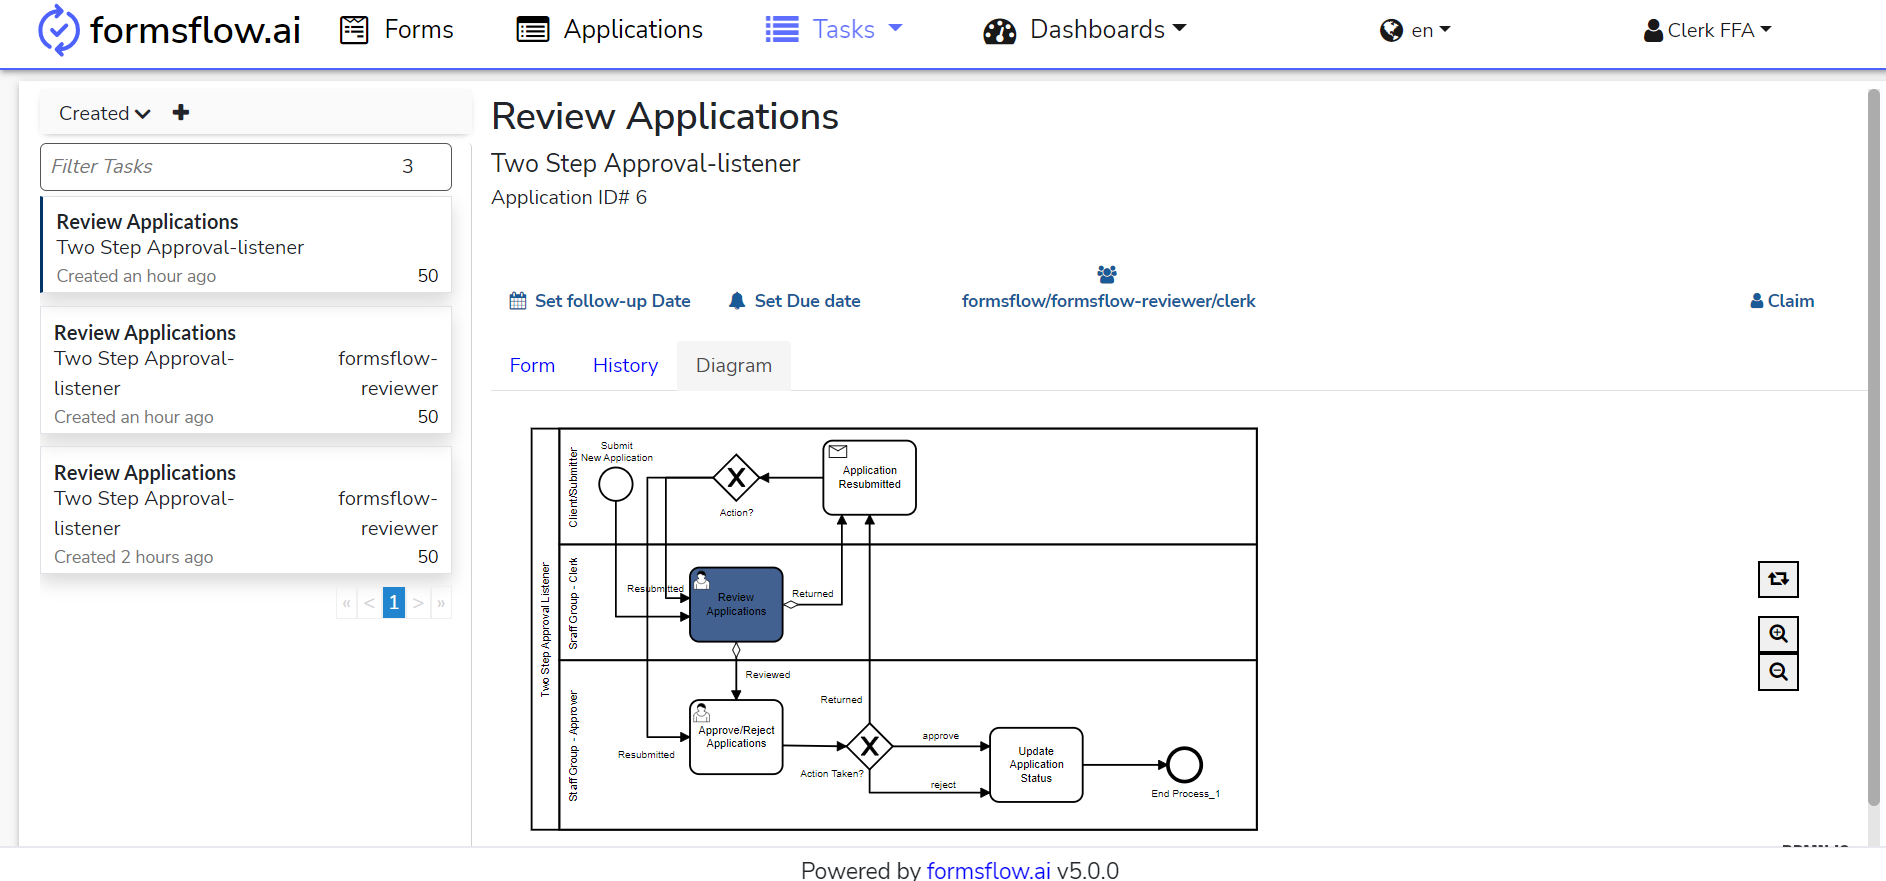
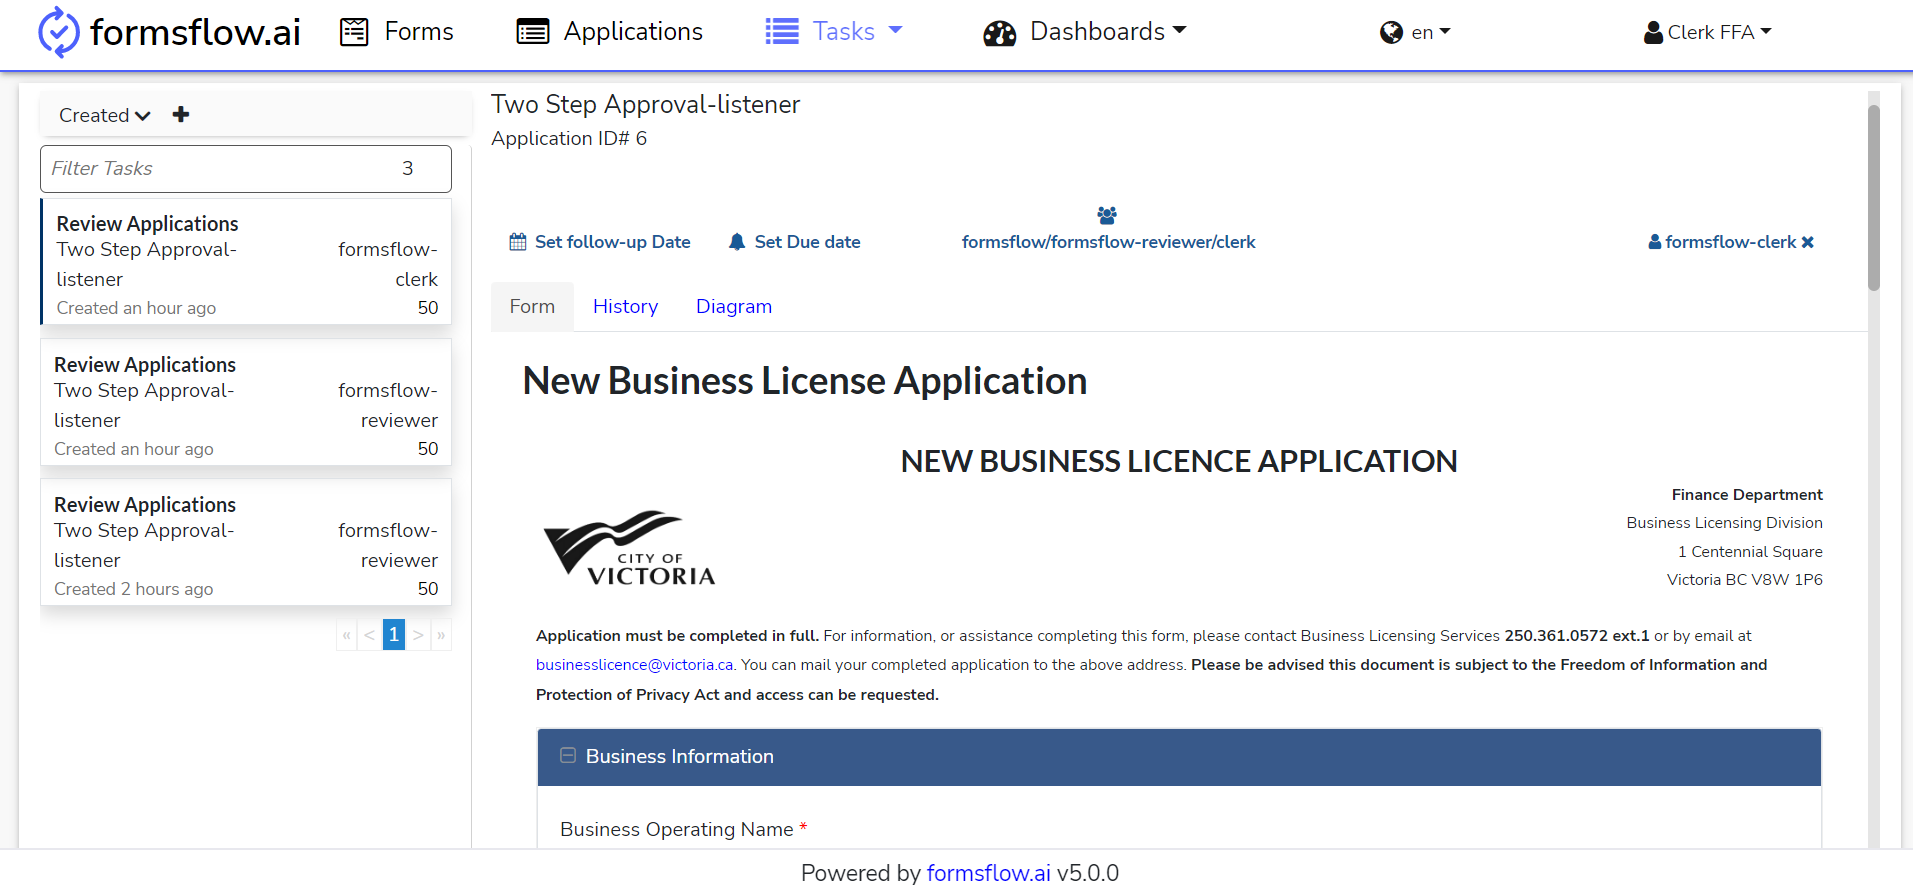
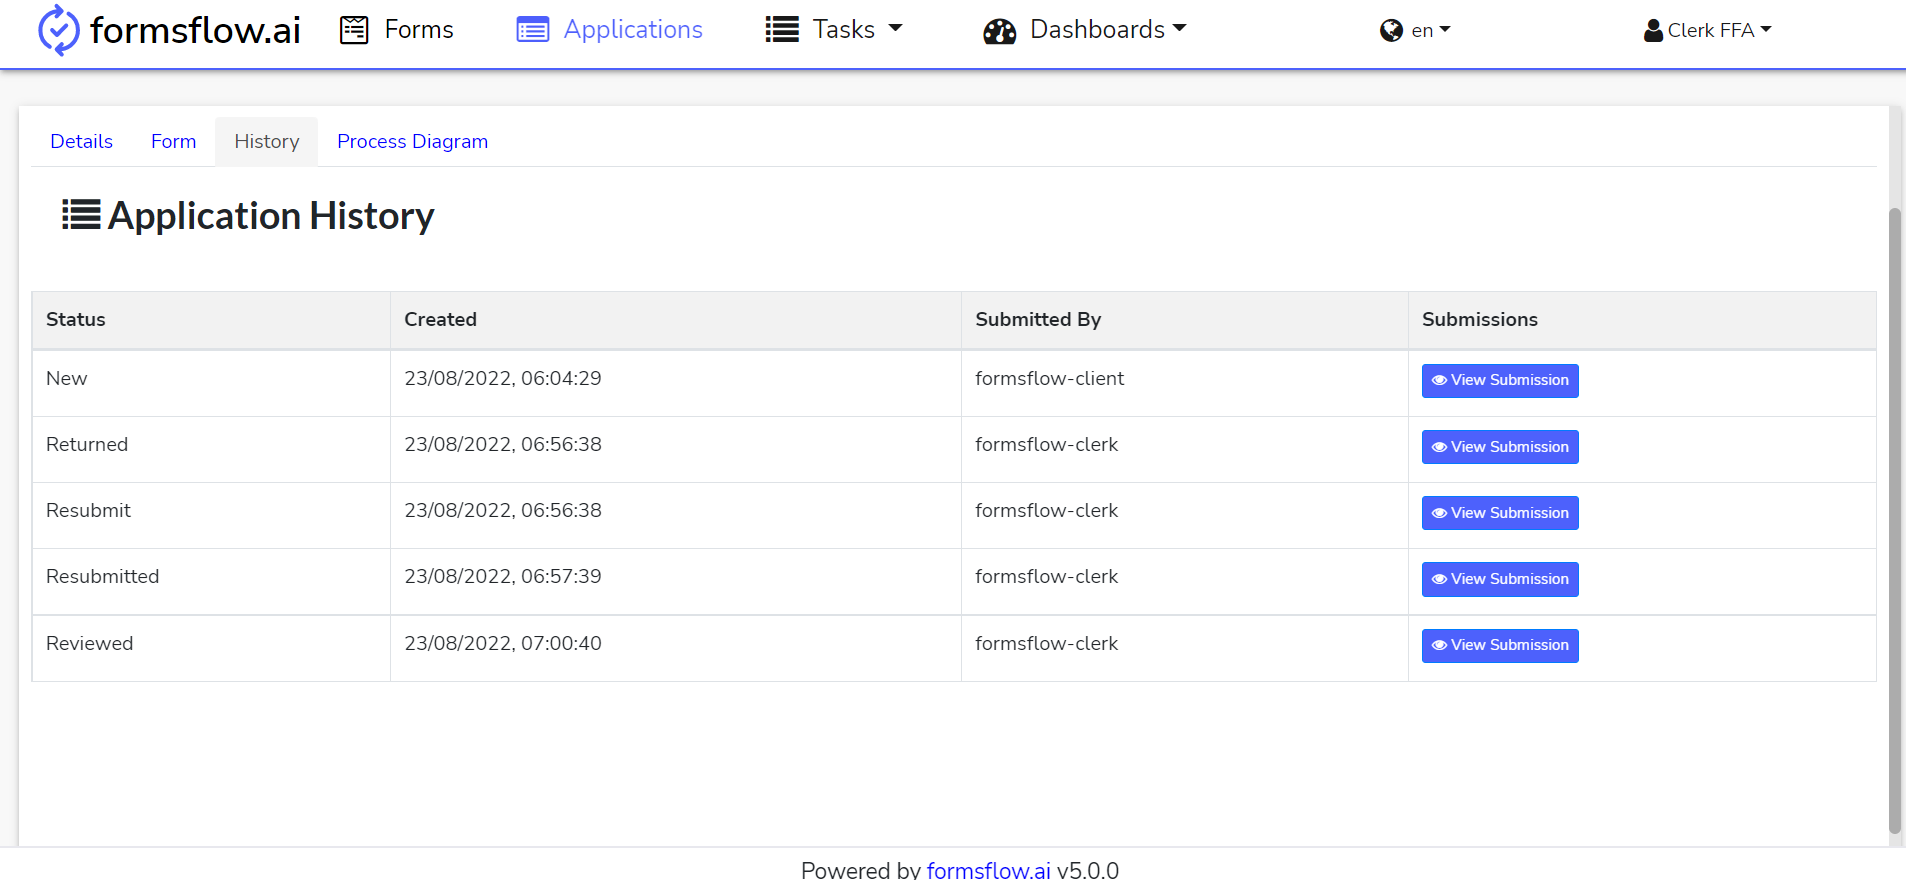
On clicking the associated task which was recently created, i.e., New Business License Application with Two-Step Approval-listener, the task detailed menu usually has three sections – Form, History, Diagram.

-
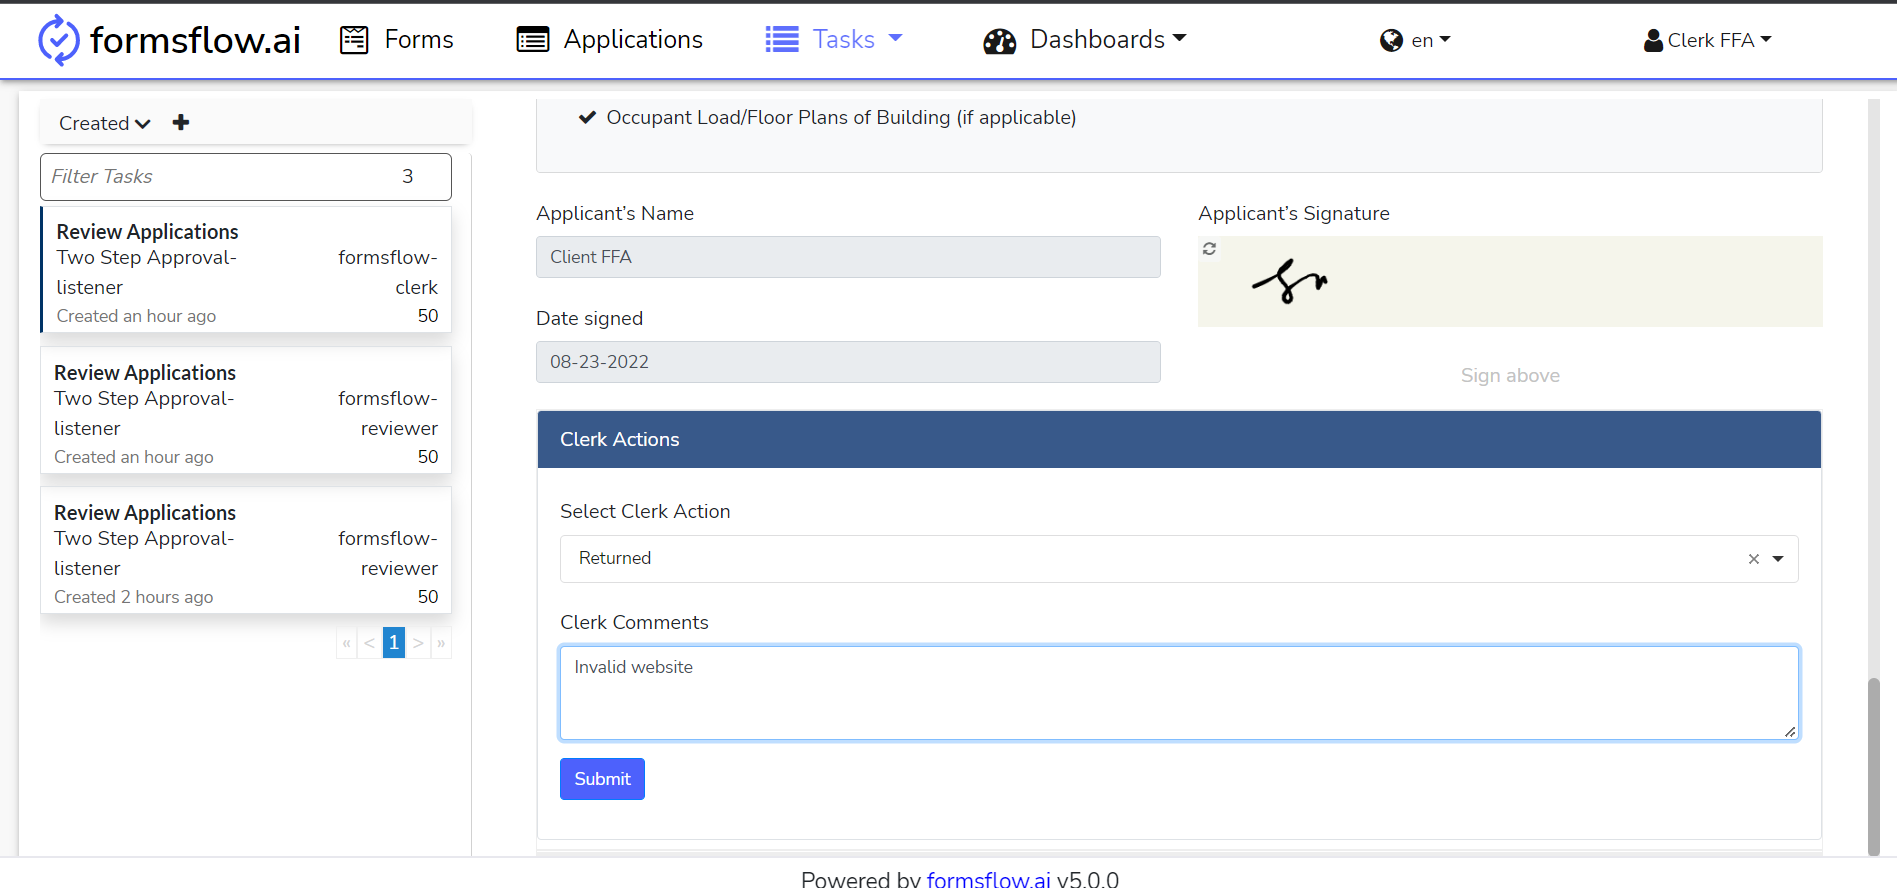
On claiming the task, the Clerk is able to mark the form as reviewed or to return it with his/her feedback to the client.
-
Return option will send the form back to the client for edit and resubmission.
-
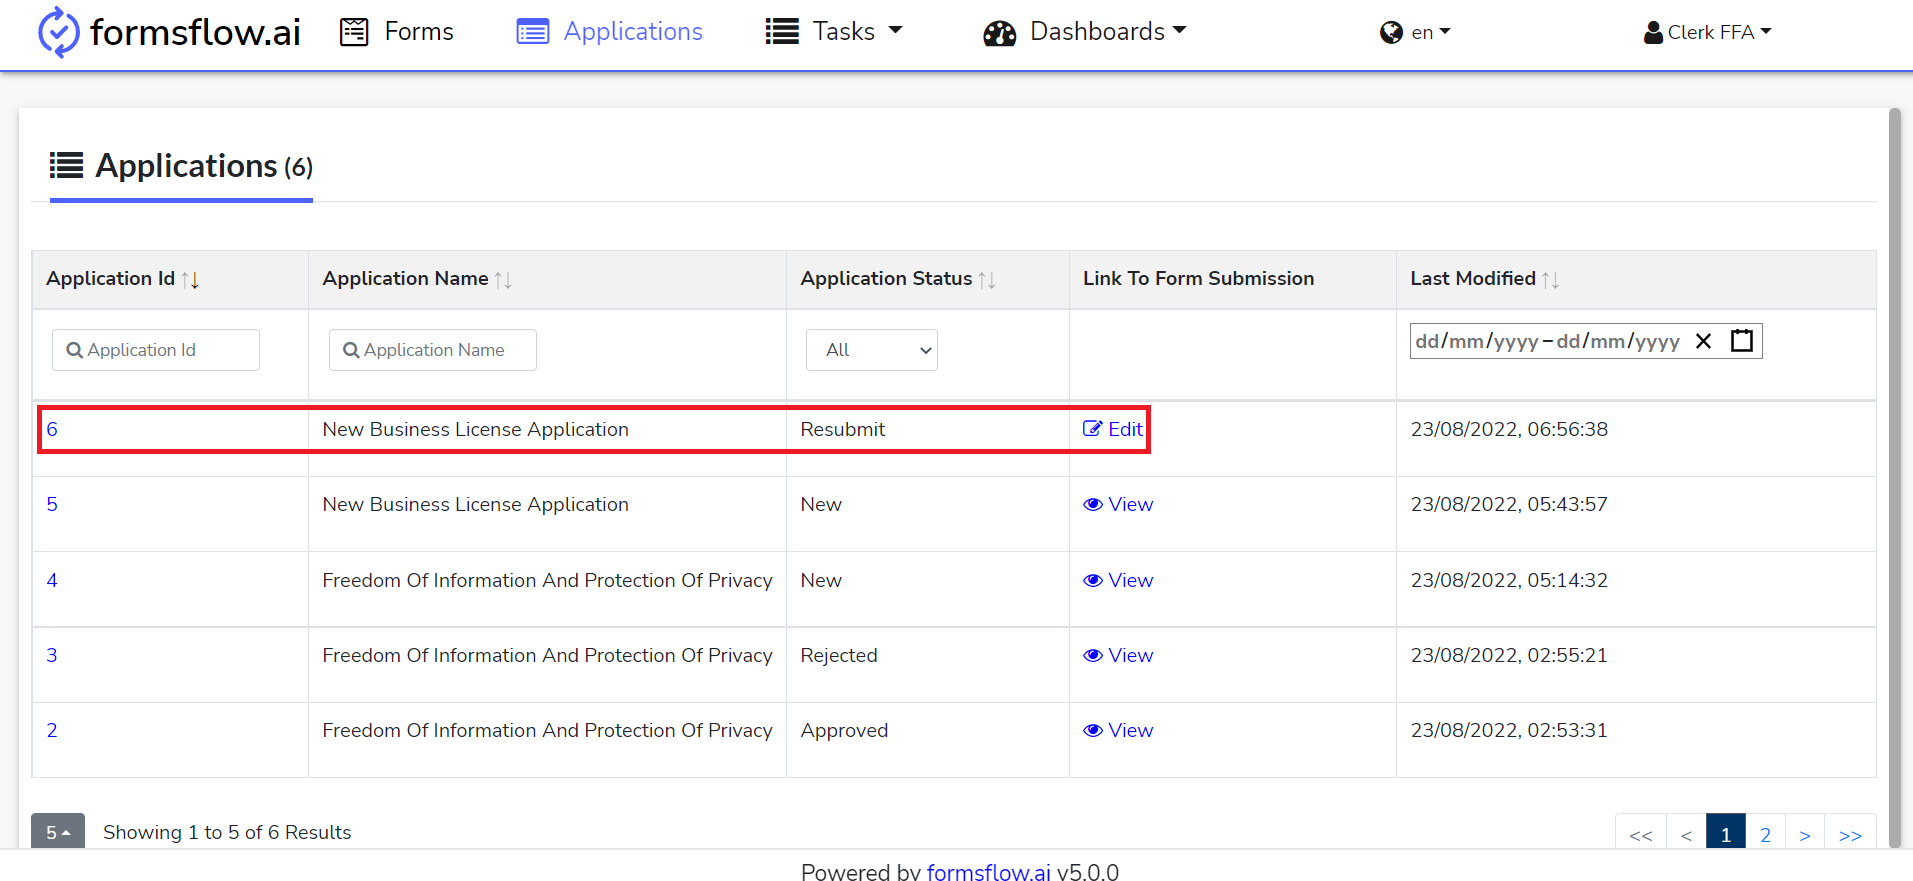
On returning, the form application status changes from New to Resubmit with an edit option.
-
Log in as a client and resubmit the form, then status changes to resubmitted.
-
Log in as a clerk and claim the task. Submit his/her review with feedback. Then the status changes to reviewed.
-
This action is completed, you can now log out and go to Approver Steps.
Approver Steps
-
Log in to http://localhost:3000 (forms-flow-web) with valid default user credentials for Approver.
-
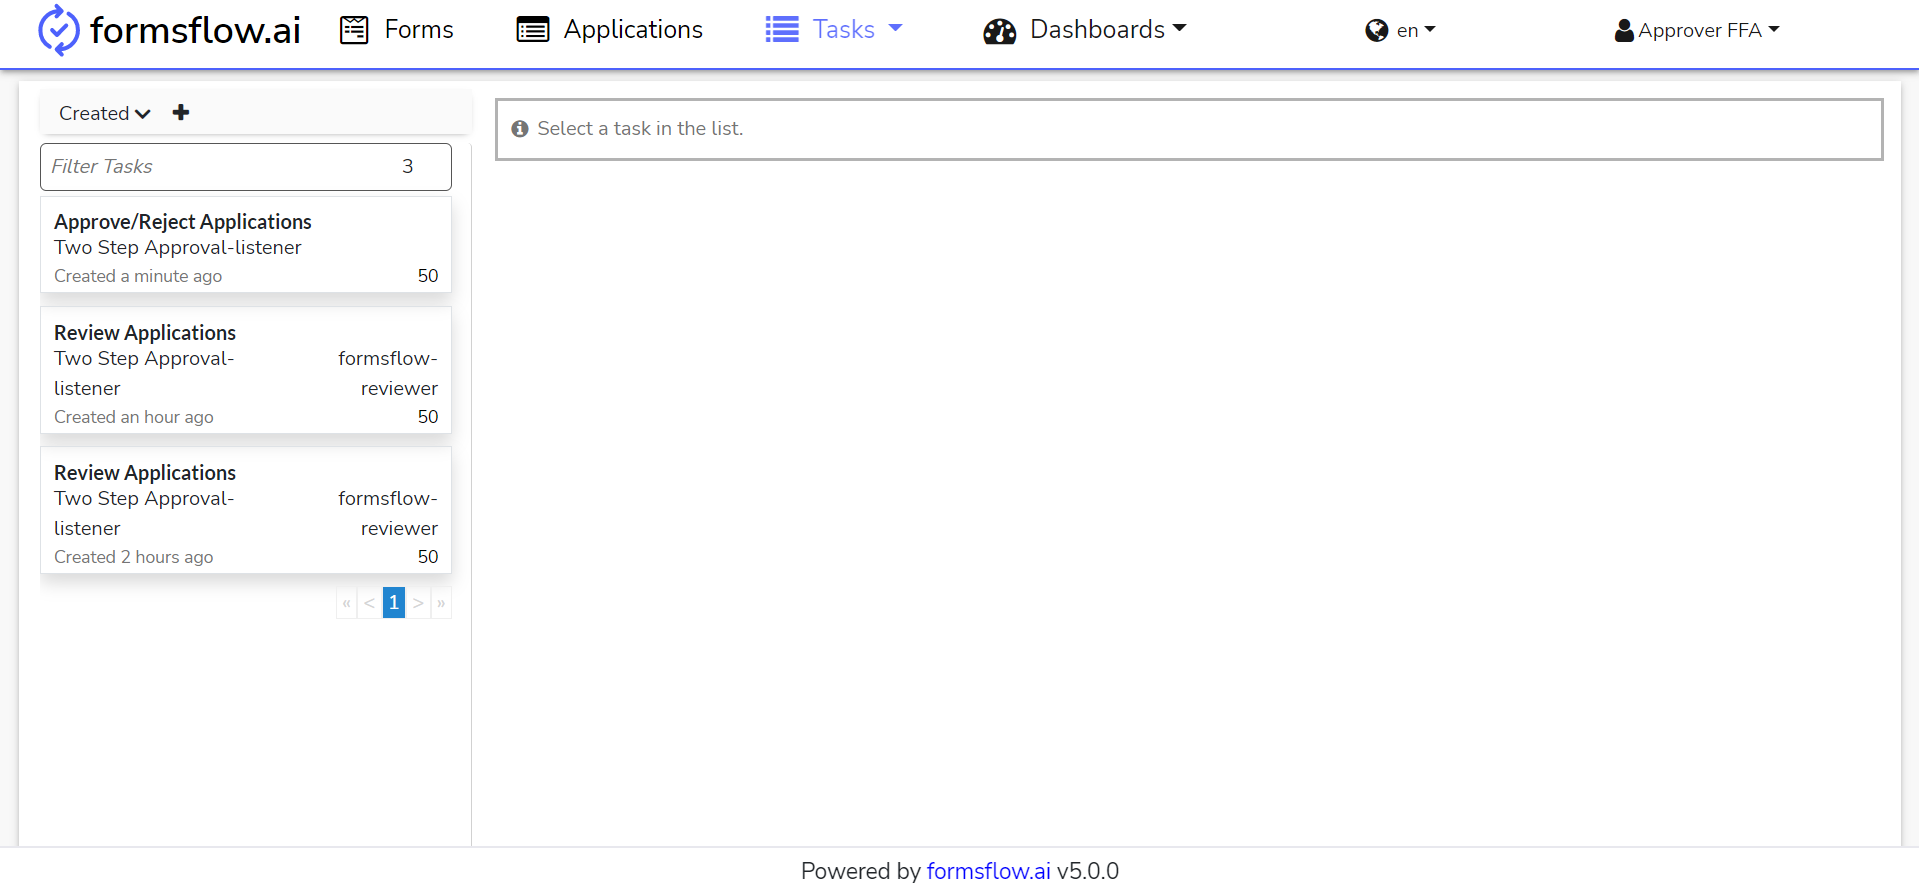
After the login is successful you will be redirected to http://localhost:3000/task.
-
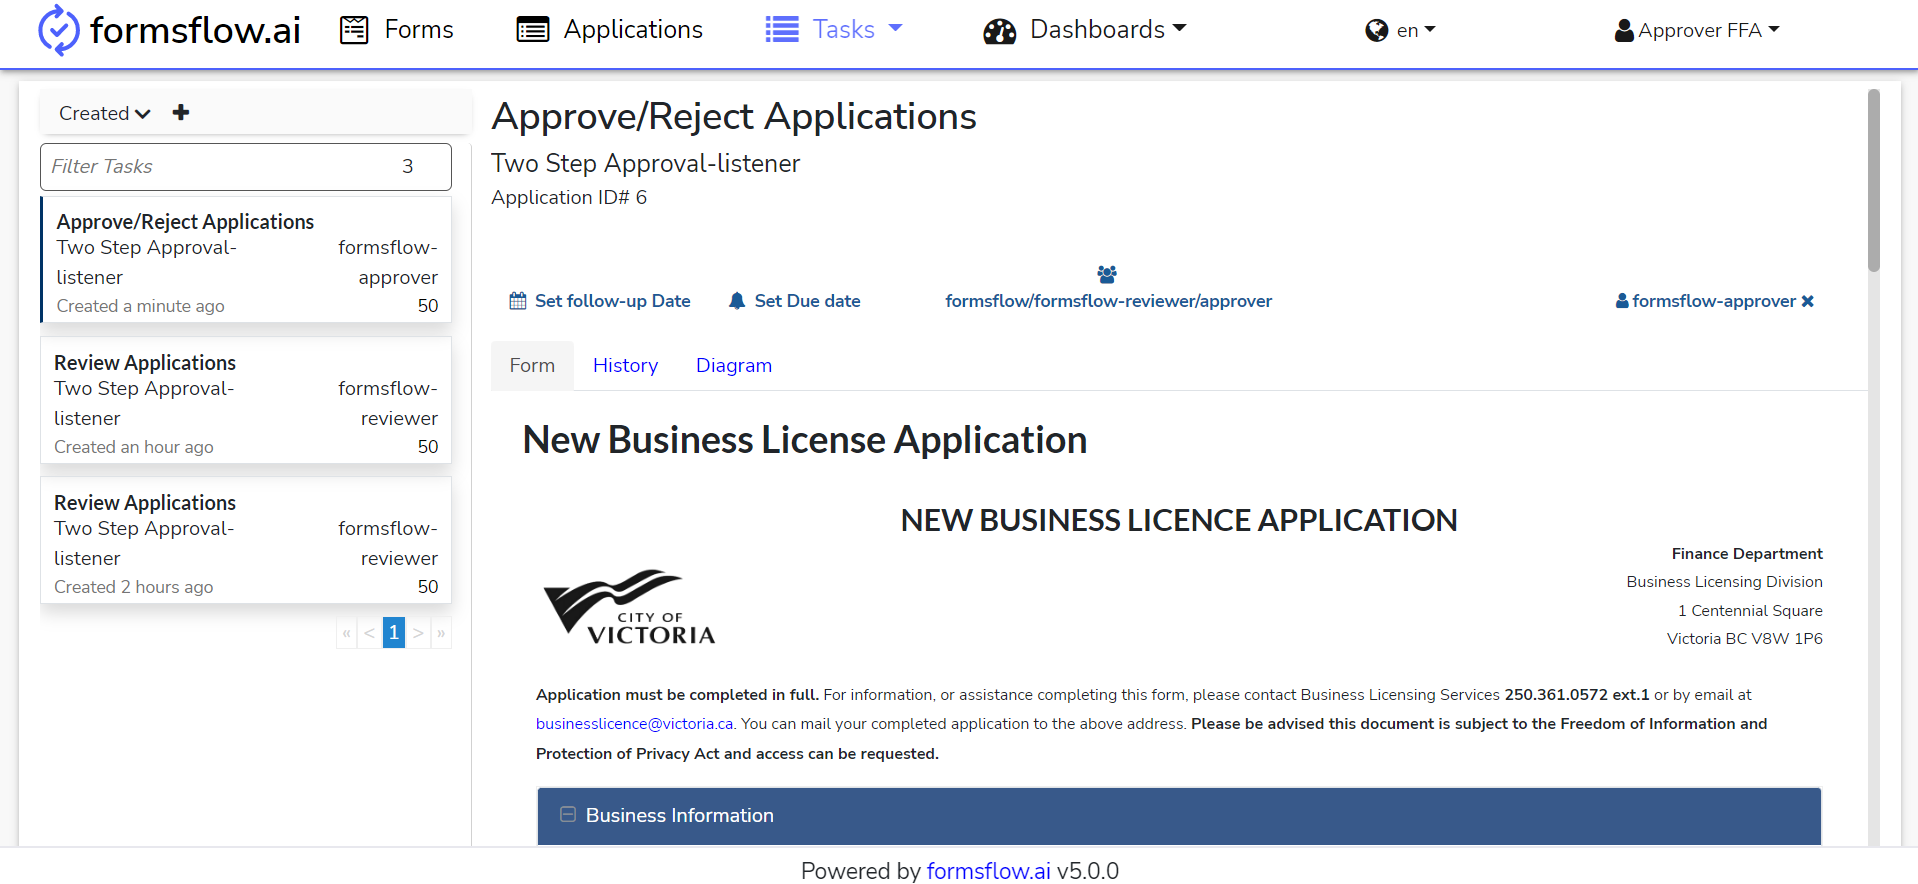
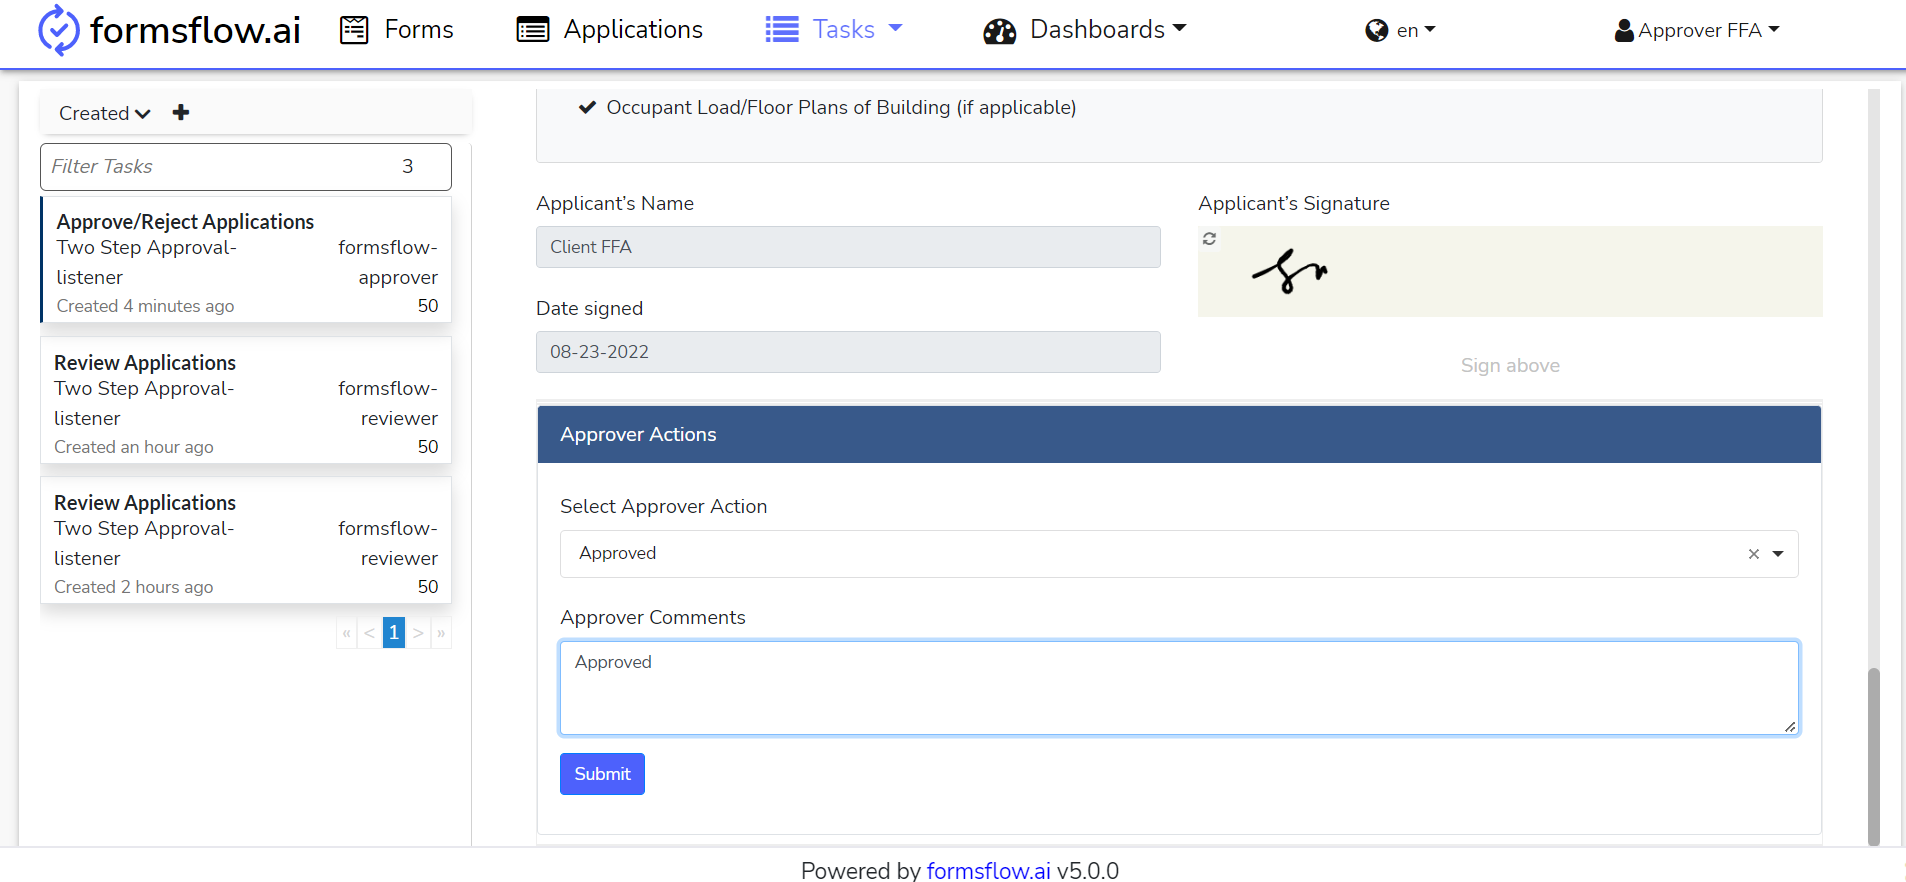
The associated task can be found for the Approver role in the Task Menu section.
-
On claiming the task, the Approver is able to mark the form with his/her review (review approved/rejected/returned) and can add feedback.
-
Now that this action is completed, the New Business License Application has completed its workflow.